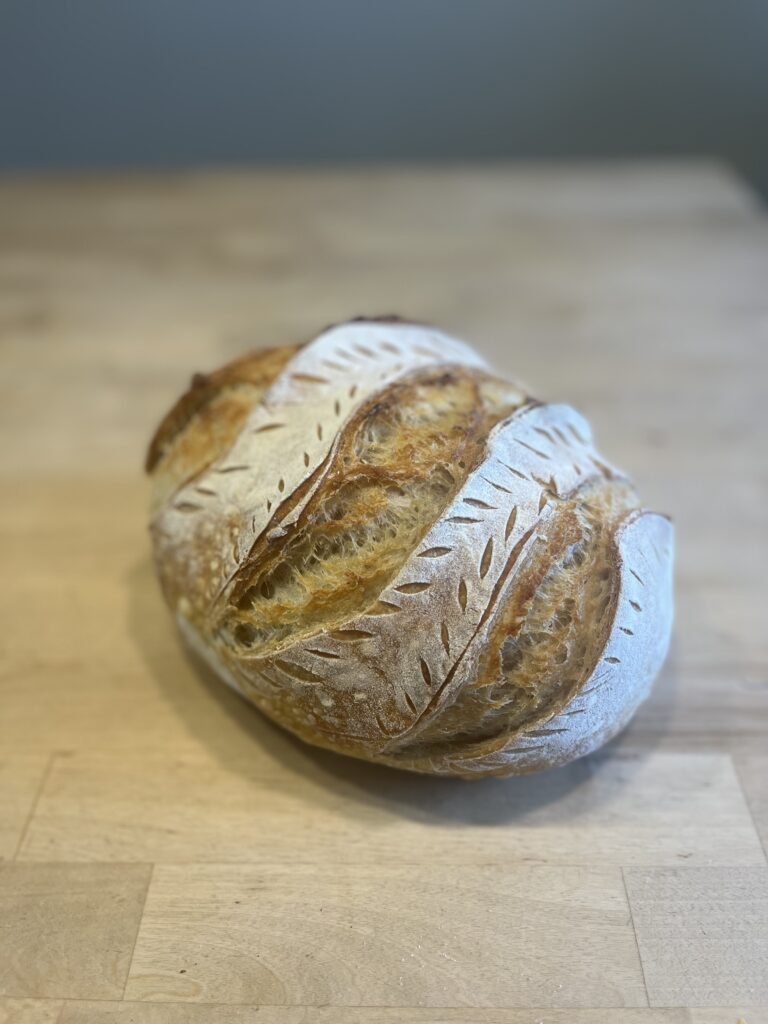
Baking beautiful, fresh sourdough loaves all starts with one simple thing: a sourdough starter. My sourdough starter journey was a little rocky in the beginning, because I started it on a whim, without really reading and understanding what I was actually doing. I’m impatient and just assumed I’d figure it out along the way. Welp, no surprise that my first starter failed and I ended up having to throw it out.
I wasn’t about to give up though. It was much easier after I read all about starting your own starter – no surprise there. Before you begin your sourdough journey, it is important to remember that sourdough is very forgiving. There is a lot of information out there that tends to over-complicate things. I will tell you from experience – it does not have to be that complicated.
In this post, I’ll walk you through how to create your own starter from scratch, share tips for keeping it alive and thriving, and help you troubleshoot along the way. Say goodbye to overly processed store-bought loaves and hello to healthier, homemade sourdough!
Supplies Needed to Start Your Own Starter
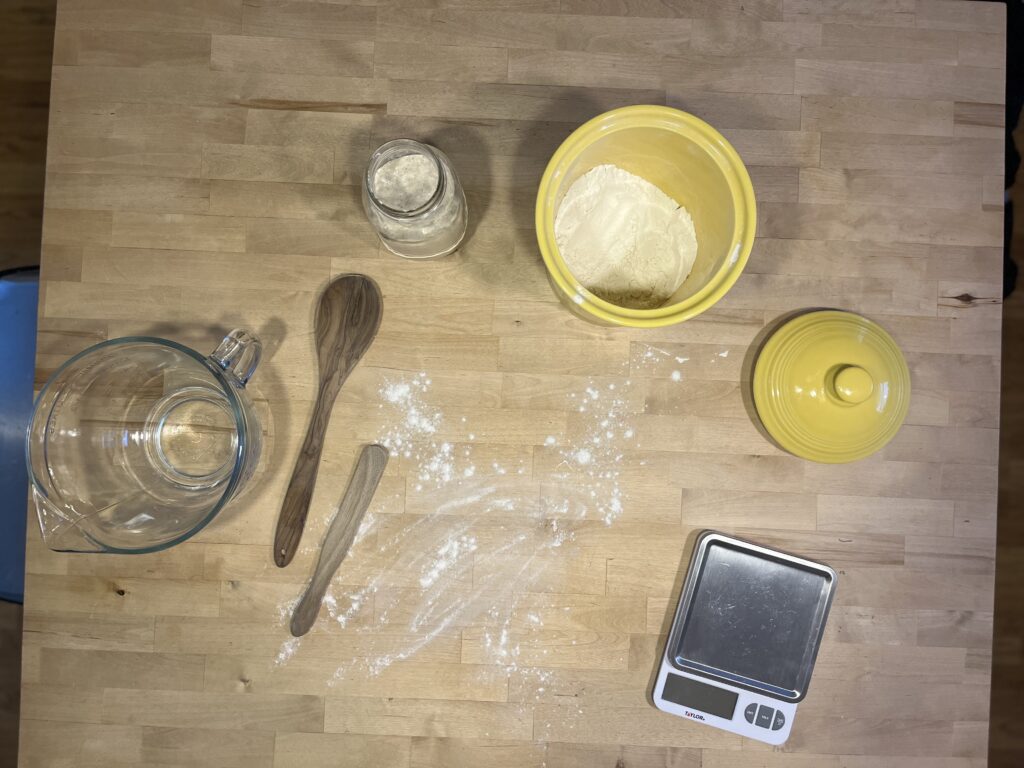
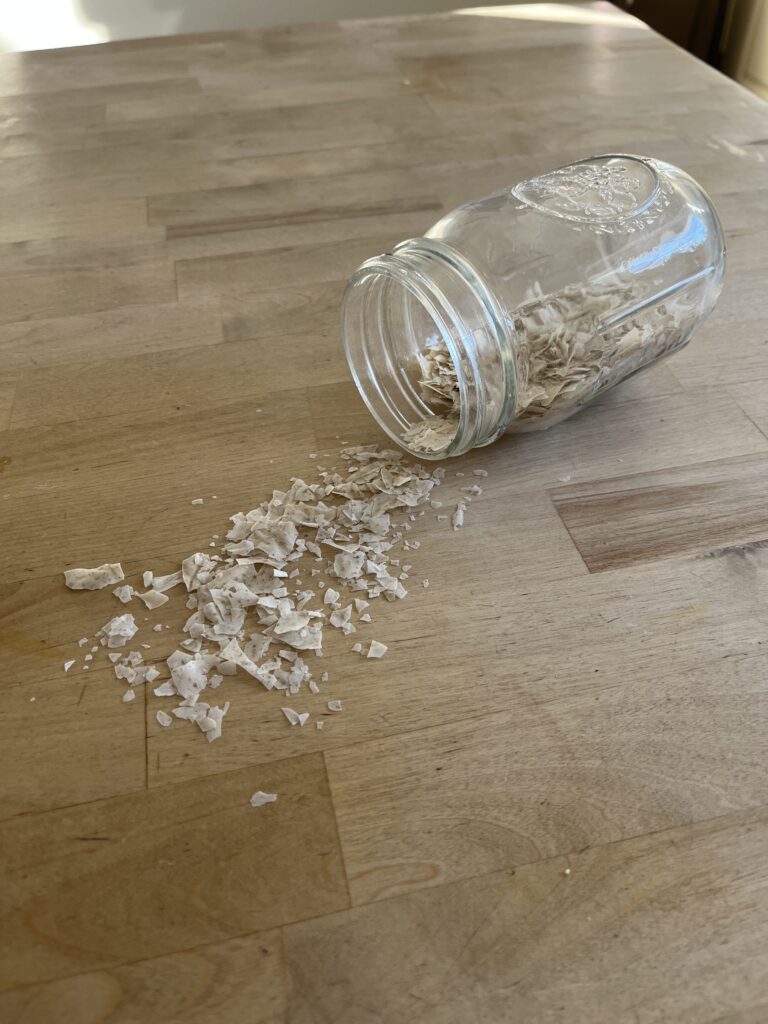
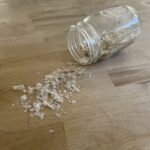
A large jar
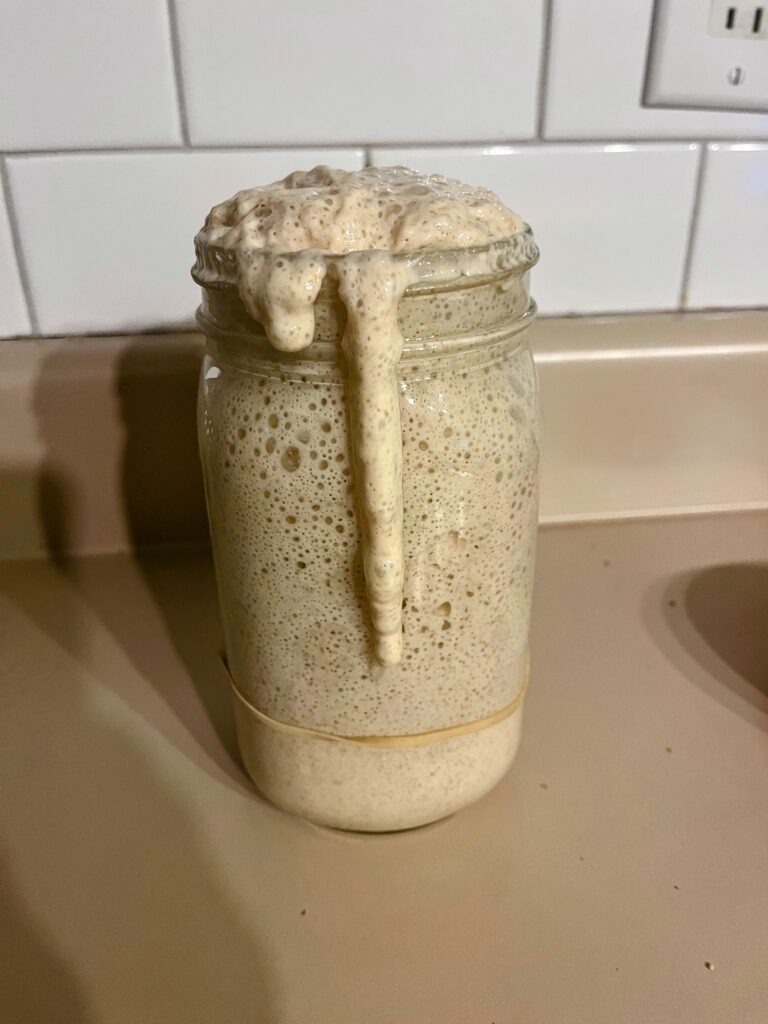
Wide-mouth jars make it much easier when dumping flour and water into the jar to feed your starter. It’s also a good idea to make sure your jar is large enough, because if your starter is super active, you run the risk of it exploding out of the top of the jar. And then you wake up in the morning with a mess of starter to deal with.
A kitchen scale
While there are many people who have mastered the art of making a starter and baking sourdough without the use of a scale, I am not one of them. One day, I may experiment and see what happens. However, there is so much time that goes into making a loaf, so I’d hate to be disappointed if it doesn’t turn out. In my experience, it ensures my loaves stay consistent.
I did try to start my first starter without the use of a scale mainly because I didn’t want to spend the money on something I thought I would never use. Unfortunately, I wasn’t successful with this method. Think about it this way: two people measure out 1 cup of flour. One person uses the measure cup to fill the flour and packs the flour tightly. The other person scoops the flour into the measure cup with a spoon and levels it out. When weighed, these two measurements will yield very different weights.
For these reasons, I do recommend a kitchen scale.
Wooden spoons
I try to use as many non-toxic tools as possible when cooking, but if you don’t have them it’s not the end of the world. It is recommended to use wooden or stainless steel tools. Other types of metal can be reactive.
Flour
I have not experimented much with different types of flour, but you will get some variations in your results with different types. The protein content, variety of wheat, and freshness of your flour can all play a role in the results of your sourdough.
To get started, I would recommend just using a white, unbleached flour. All-purpose or bread flour is fine to begin with. Once you get a little more experienced, go ahead and experiment with different types of flour. What you use will depend on the results you are looking for in your loaf of bread.
Do not use self-rising or bleached flour. I have never used bleached flour for my starter, but I have heard that the starter will not rise if you use one. Self-rising flour has a leavening agent in it, so you don’t want that for sourdough.
Whole grain flours contain more minerals than white flour and can speed up the fermentation process of your sourdough starter and in the rise of your bread. In your starter, you can use unbleached all-purpose flour, or bread flour. I also mix in some whole grain rye bread flour. If your sourdough starter seems slow to rise, use a mixture of regular flour and a little bit of whole grain rye bread flour when feeding your starter. to give it a boost. The water I use in my starter is filtered from the fridge.
Water
There is great debate among sourdough bakers about the type and quality of water to use. Some say tap water is totally fine to use, others say that the chlorine and chemicals can change the strength of the wild yeast. I use our filtered water from the fridge, but when I bake my loaves, I use tap water. You can certainly experiment with the types of water you use, however it may be best to begin with using filtered or purified water for consistent results.
Starting your own sourdough starter
Steps to Start Your Own Starter
You want to use equal parts of flour and water to begin with. When you begin feeding your starter, you will maintain a ratio of 1:1:1 for sourdough starter : flour : water.
Schedule
Day 1
I would recommend starting in the morning, because you will have to feed your starter every 12 hours, and then eventually every 24 hours.
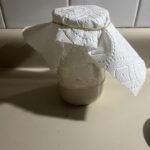
Mix 50 grams of flour with 50 grams of water. Stir really well until completely combined. Cover your jar with a paper towel and rubber band and place in a warm area. Let it sit for 24 hours.
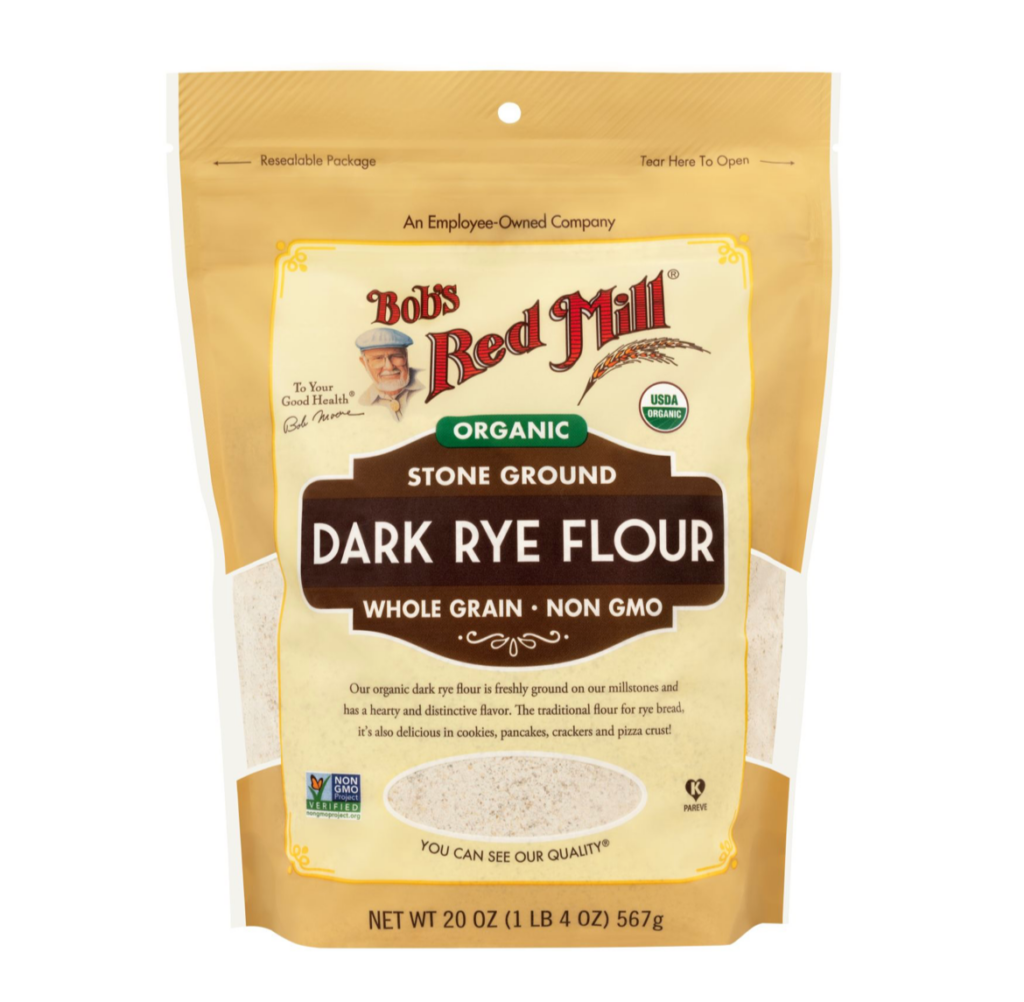
* TIP: To help speed up the process – use a mixture of regular flour with whole grain flour that will equal 50 grams. I do 40 grams of all-purpose or bread flour with 10 grams of whole grain dark rye flour. I use Bob’s Red Mill Dark Rye Flour which works wonderfully.
Day 2
You do not need to add anything today. All you will do is mix it really well to get a lot of oxygen in. Cover the jar again and let it sit for another 24 hours.
Day 3
In the morning, discard half of your starter. I get a clean, new jar when I discard. First, set your new jar on the scale and dump 50 grams of starter into the new jar. Now you will add 50 grams of flour and 50 grams of water. You want to maintain the 1:1:1 ratio. Make sure you mix it really well to get a lot of oxygen in there. Place the paper towel cover back on your jar and put it in a warm area to rise. At this point, you can place another rubber band around where the starter level is so you can monitor whether or not it is growing.
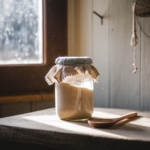
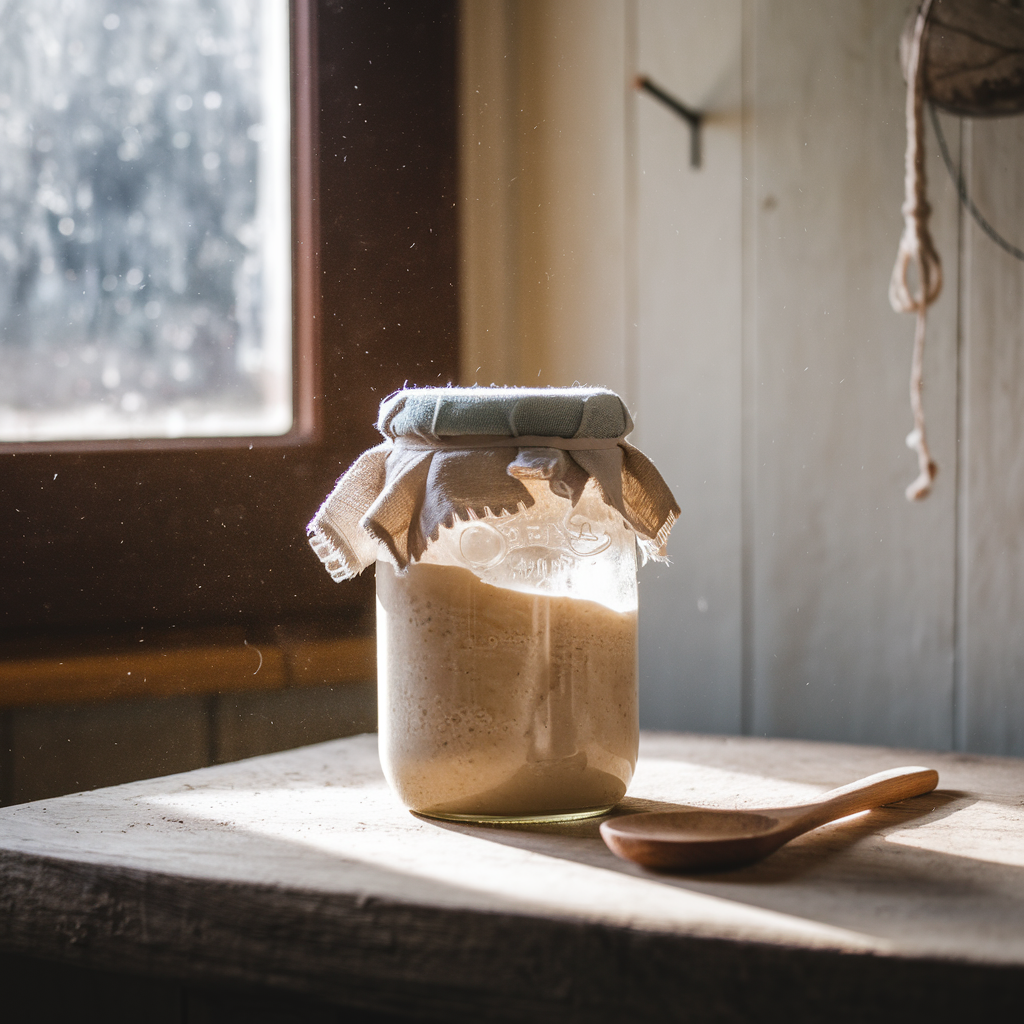
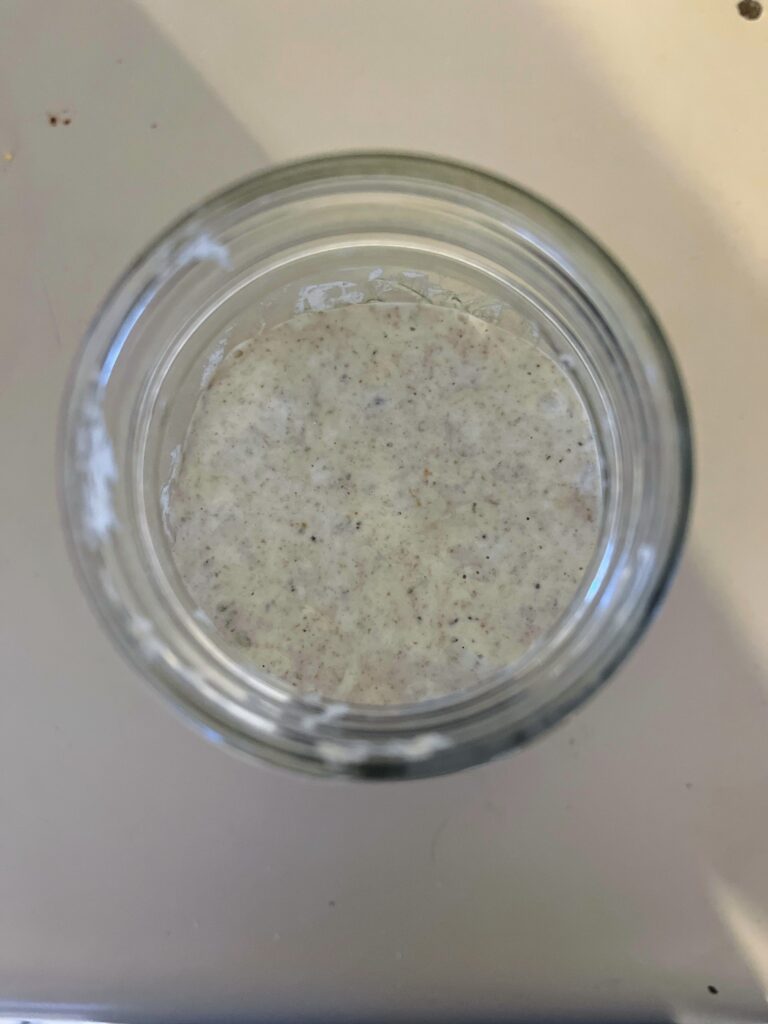
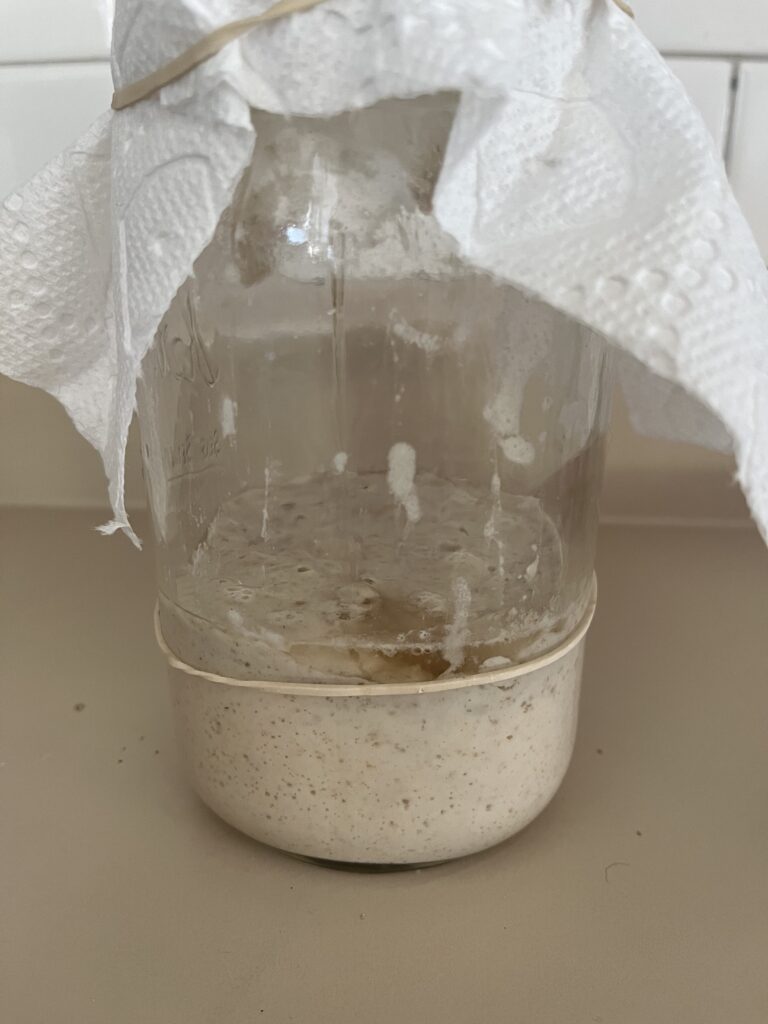
An important note: at this point, your starter may smell really bad and it may have developed some liquid on the top (called hooch – see picture below). You can dump this liquid out or stir it in. It is basically telling you it is hungry. It’s also normal for it to double in size. Just keep on following the steps.
Day 4
AM: Feed your starter like you did yesterday. Get a new, clean jar and dump 50 grams of your starter in the new jar. Add to the jar 50 grams of flour and 50 grams of water. Mix it really well, ensuring you get plenty of oxygen in the mixture. You will need to complete this process of discarding and feeding your starter twice today, about 12 hours apart.
PM: Feed your starter again the same way you did this morning. It may be helpful to set an alarm on your phone so you don’t forget to feed it.
Day 5
You will feed your starter twice today just like yesterday. If you don’t already have a rubber band around your jar at the level of your starter when you feed it, it would be a good idea to do so. This way, you can monitor how much your starter is growing. You will want it to at least double in size.
Day 6
You will feed your starter twice again today. Make sure you are getting plenty of oxygen into the mixture.
Day 7
You made it to a week! You need to keep feeding your starter twice a day for at least 14 days. At this point if you are really antsy, you can try making a loaf of sourdough! Just know that the more mature your starter is, the better your results will be. 14 days may be a better time to try and bake your first loaf. A good tip is to make sure your starter is consistently doubling in size within 2-6 hours after feeding it. This is a good indication that your starter is ready to bake with.
After 7 days, you can begin to use the discard in recipes, or save it in a jar in the fridge to use with other recipes.
Days 8-14
You will continue feeding your starter twice per day.
What’s Next
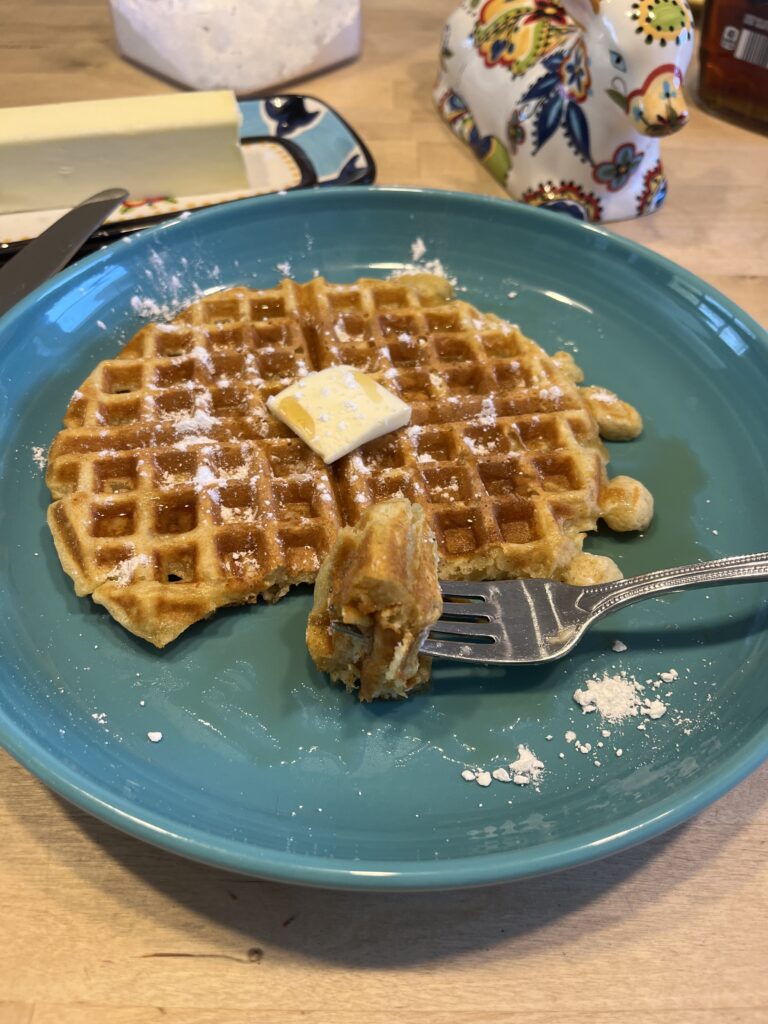
Once your starter is bubbly and active, the real fun begins—baking! You’ll be ready to try your hand at a classic sourdough loaf, but that’s just the beginning. Sourdough starter can be used for everything from pancakes and pizza dough to biscuits and crackers. To keep it healthy, you can store your starter at room temperature and feed it daily or pop it in the fridge if you want a slower maintenance schedule, feeding it once a week.
Remember, every starter is unique, and the process might take some trial and error. Read through some common starter troubleshooting tips here. Stick with it, have fun, and soon you’ll be enjoying the satisfaction of turning a simple starter into nourishing, homemade bread. Your gut (and your taste buds) will thank you!