Bringing a dehydrated sourdough starter back to life is a simple and rewarding process that will have you baking delicious bread in no time! With a little water, flour, and patience, your starter will soon be alive, full of tangy aroma, and ready to rise. Whether you’ve stored some of your starter for convenience or received some from a fellow sourdough enthusiast, this guide will walk you through every step to ensure a smooth reactivation and set you up for baking success.
Supplies Needed
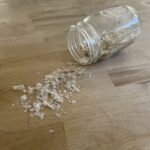
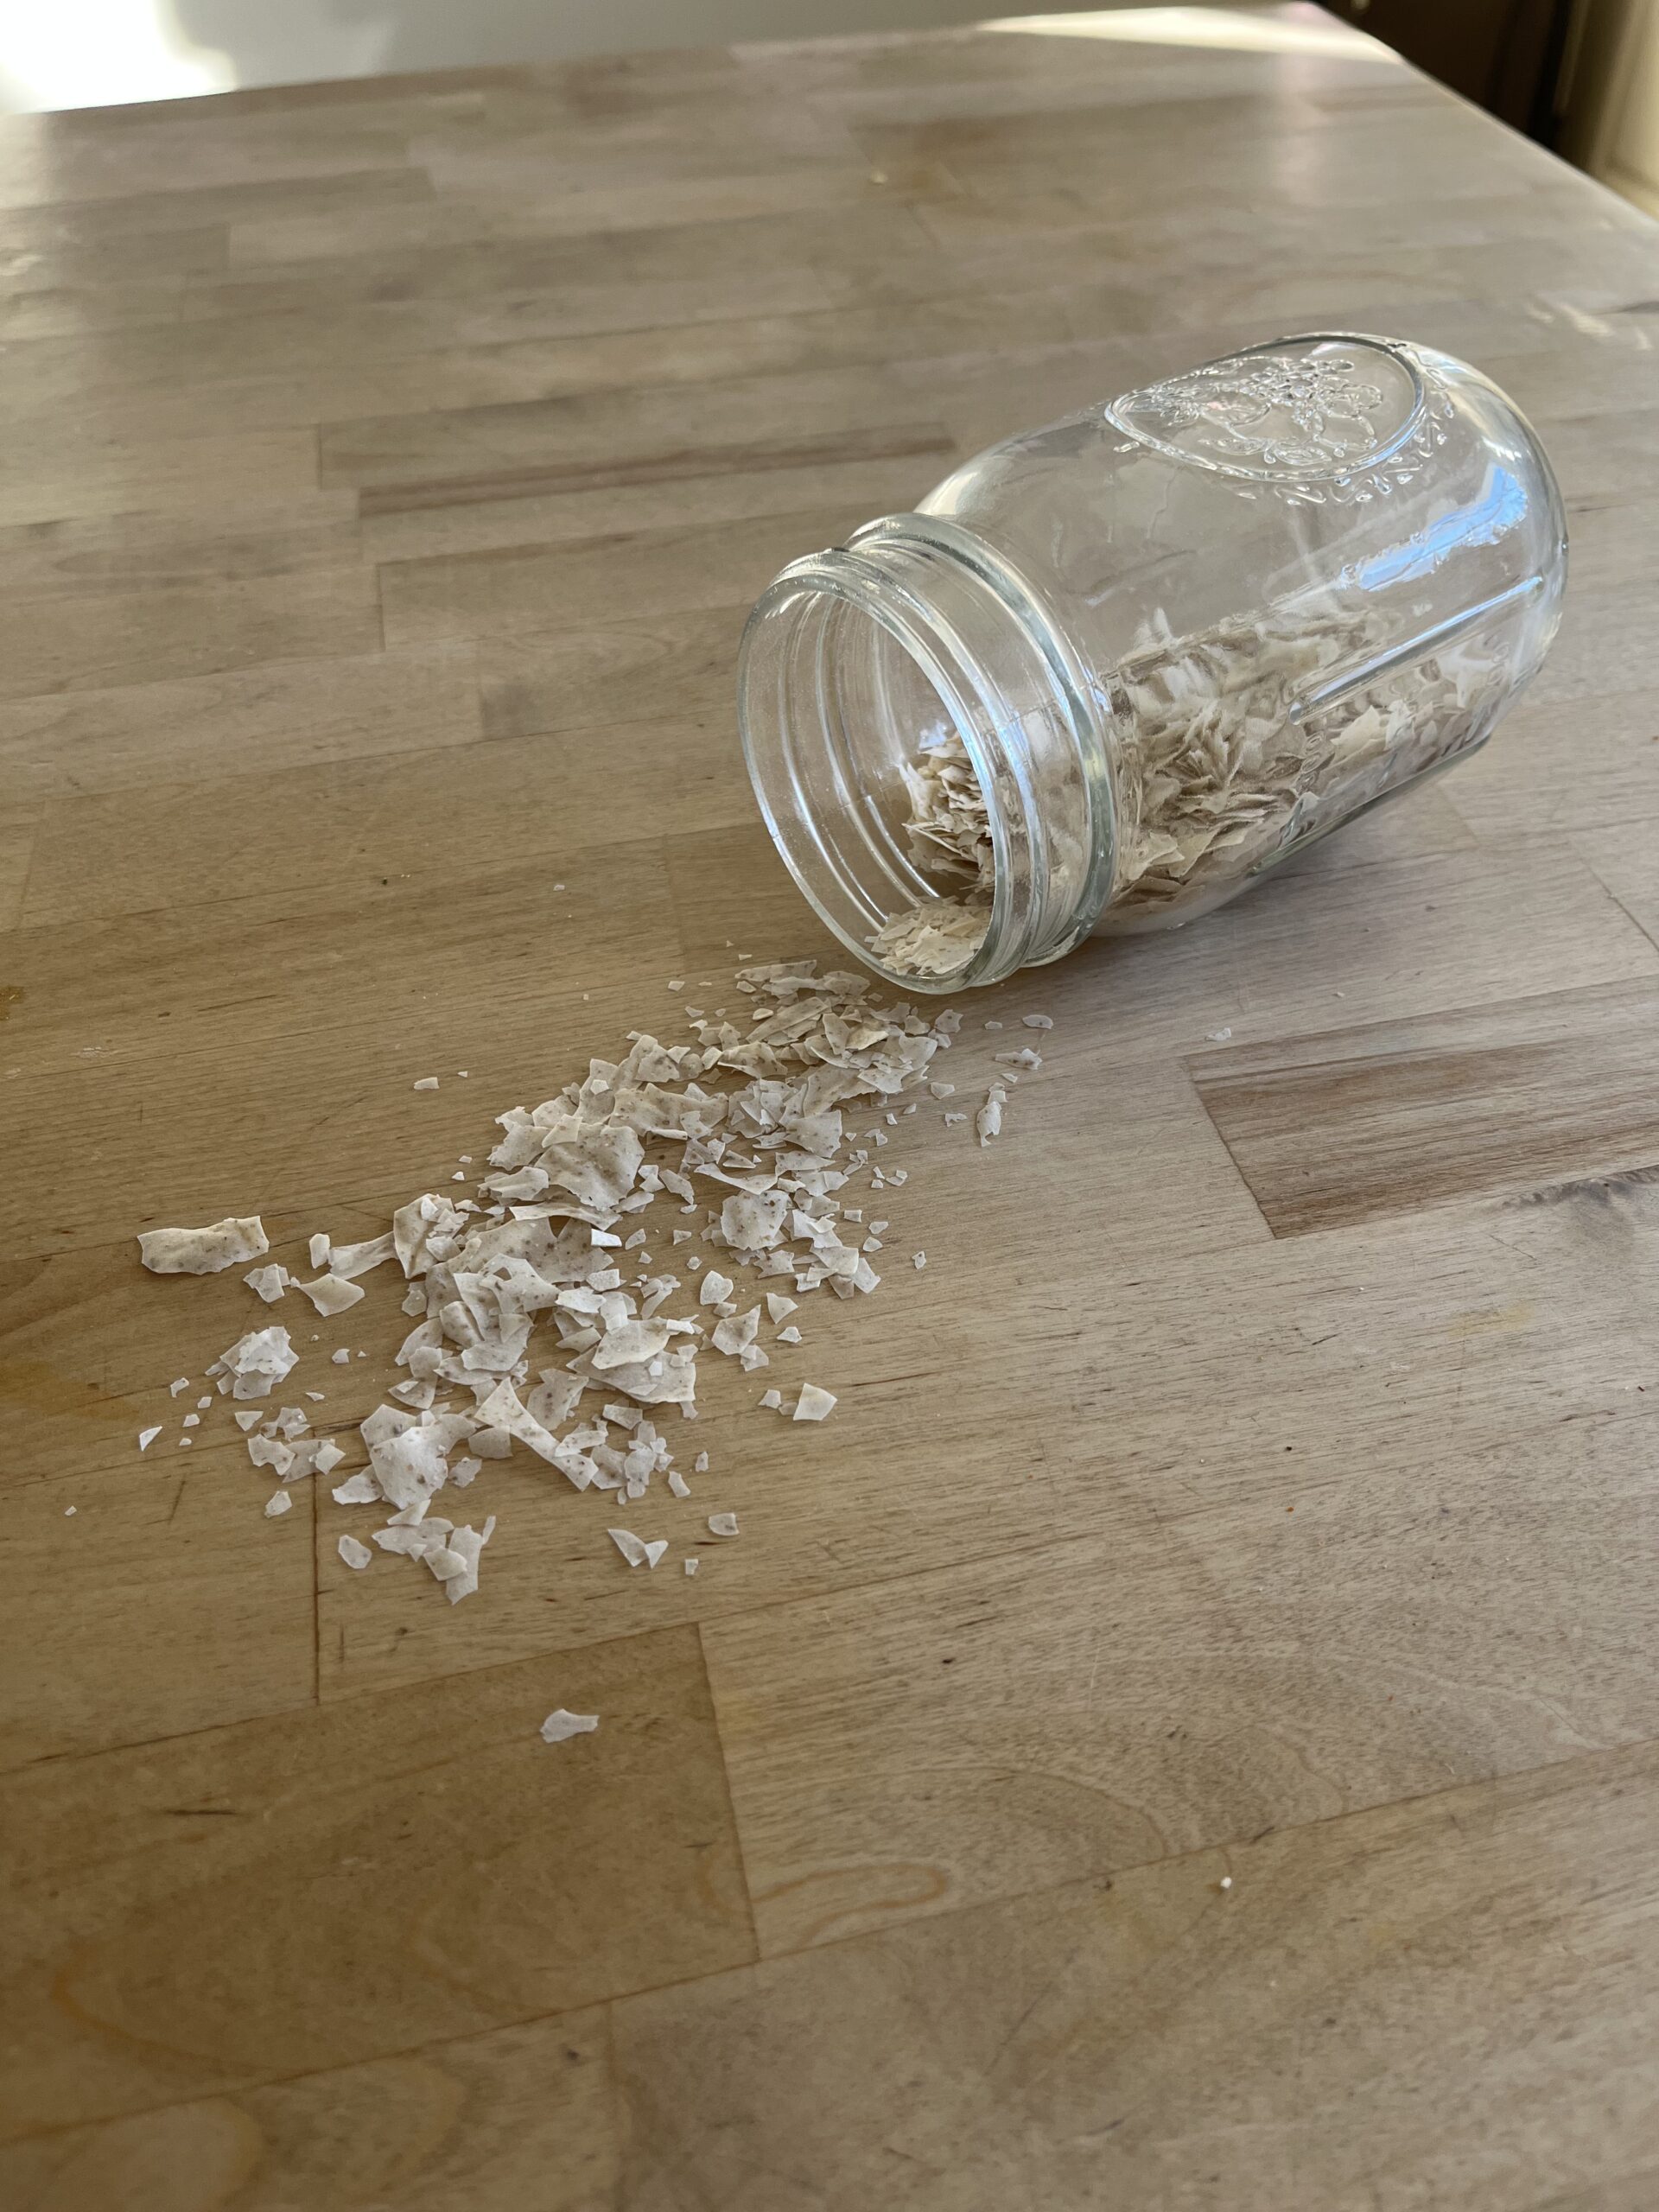
Before you get started, gather the following ingredients and materials. You only need a few items to help get your starter off and running. The ingredients needed in a starter are: the dried starter, filtered water and unbleached flour. Unbleached all-purpose or unbleached bread flour is fine to get started with. Different types of flour will yield different results in the texture, flavor, and density of your bread. Read more about the types of flour and water to use in your starter here.
You will also need a few tools:
- a large jar – I like to use the pint size Mason jars
- paper towel
- a couple of rubber bands
- wooden spoon
- a kitchen scale
Steps to reactivate a dried sourdough starter
In the steps below, I will walk you through the process of reactivating your sourdough starter from start to finish.
Day 1
AM: Start with a clean jar and add 20g of dried sourdough starter. Add 50g warm water and stir it together until the starter is completely coated with water.
Next, add 50g of flour and stir it in well, ensuring that you get plenty of oxygen into the mixture.
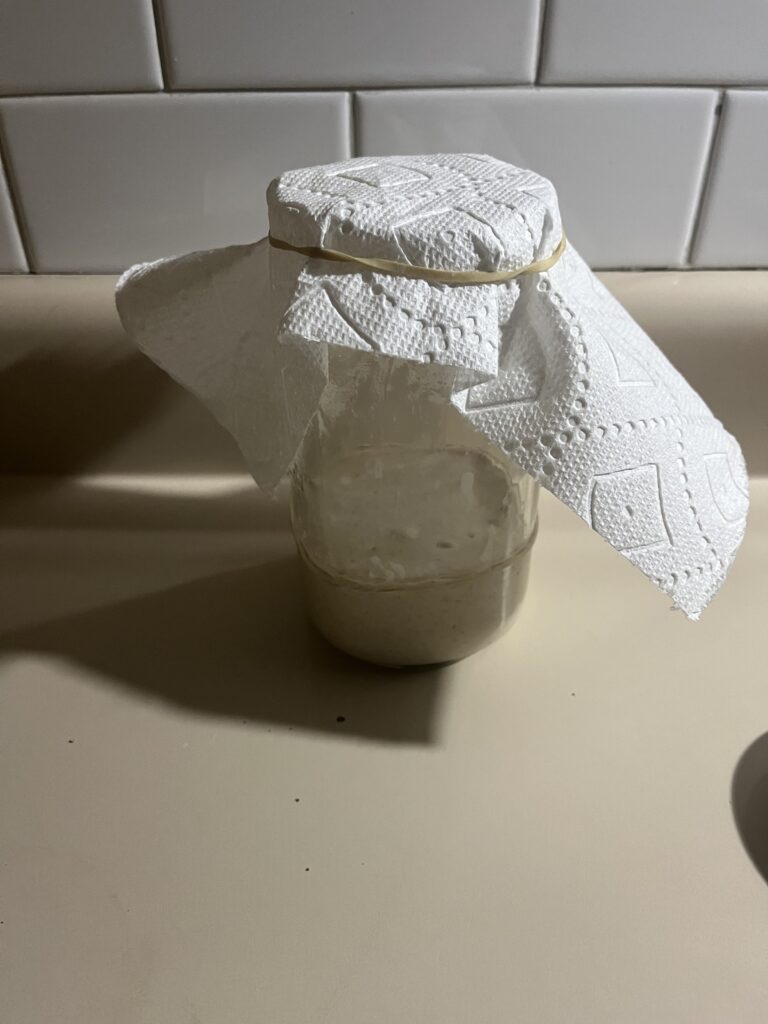
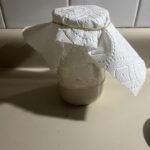
Cover the mixture with a paper towel and secure it with a rubber band. Let it sit for approximately 12 hours.
It’s also a good idea to use a rubber band around the jar to show how much the starter has risen since it was last fed. It probably won’t rise this quickly, but this way, you can monitor whether or not it is growing.
PM: After 12 hours, feed the starter with 50g of warm water and 50g flour, ensuring you mix it really well to get plenty of oxygen in the starter. Cover the jar and let it rest for 12 hours again.
Day 2
AM: After 12 hours, discard all but 50g of your starter. You could do this a couple of ways. Either keep the same jar and add to it or get a new jar with each feeding. I always get a new jar because it is easier to weigh the starter that you are keeping. If you do it that way, place a new jar on your scale, dump 50g of starter into it and discard whatever is left in the old jar.
To feed your starter, you will add 50g of water and 50g of flour into the mixture. Stir it really well to ensure that you get lots of oxygen into the mixture. You always want to ensure your mixture is a 1:1:1 ratio of starter : water : flour.
Cover your starter and let it rest for another 12 hours.
PM: After 12 hours, go through the same discard process as you did this morning. Discard half of the starter (50g), add 50g of water and 50g of flour and then stir well.
Day 3
AM: This morning you will discard again with the same process explained above.
From here on out, you will repeat this discard process every 12 hours for the next 3-7 days.
What’s next?

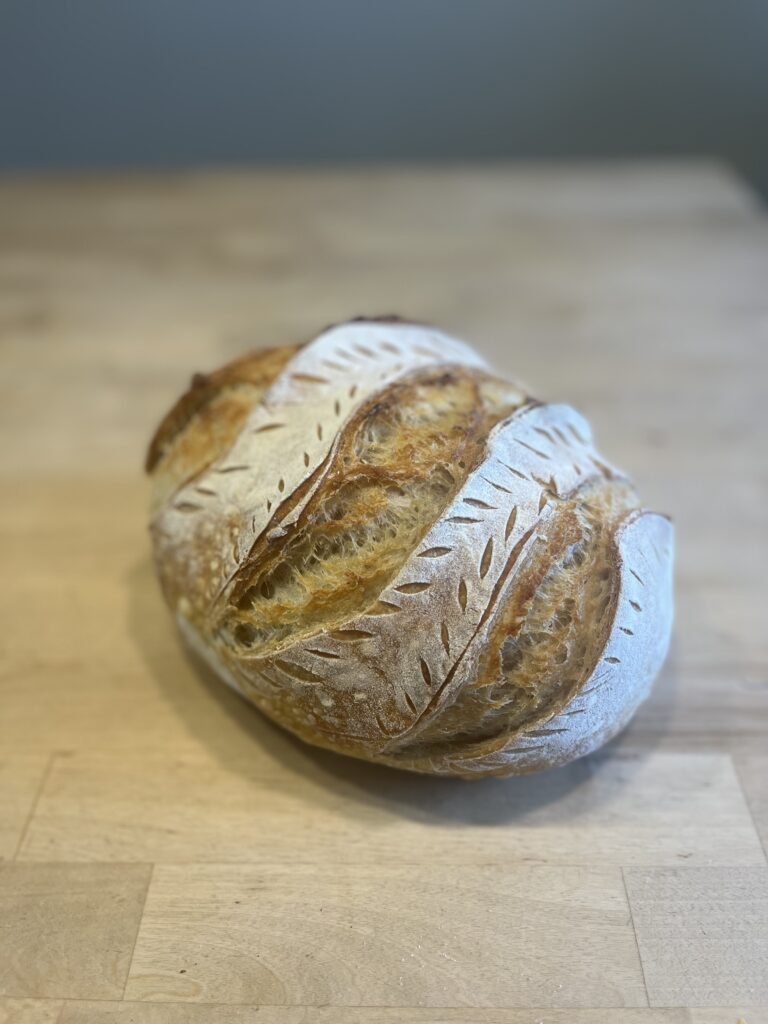
When the starter is consistently doubling after each feed, it is ready to bake with! Follow these easy instructions when you are ready to bake your first loaf!
After you bake your loaf of sourdough, you just have to maintain your starter like you would any other starter.
Storing your starter
Once your starter is established, you should be able to drop down to 1 feeding per day if you will be leaving it out on the counter. This would be a good method to follow if you will be baking every day.
If you are not a daily baker, you can pop your starter into the fridge and feed it once per week to ensure that it remains active. If you are going to store it in the fridge, exchange the paper towel for a lid to keep out any unwanted fridge odors and to prevent your starter from drying out. Do not secure the lid too tight because it can build up some pressure and it can overflow. You don’t want that mess. It might be a good idea to check on it and unscrew the lid occasionally to release any pressure built up.
Final tips & troubleshooting
Sourdough starters can be a bit finicky, especially when waking up from a dormant state. Factors like temperature, hydration, and the type of flour you use can all impact how quickly (or slowly) your starter becomes active again. Sometimes it bubbles to life within days, while other times it takes a little extra care and patience. Don’t be discouraged—adjustments and a bit of persistence will get it thriving again. Check out these sourdough FAQs for more tips!
If you are ready to bake your first loaf, follow along with the instructions here!