Starting your own seeds indoors is a rewarding way to get a head start on your garden, giving your plants a strong foundation before they even touch outdoor soil. Indoor seed starting allows you to control growing conditions, extend your growing season, and save money compared to buying seedlings. With just a few supplies and a little patience, you can nurture tiny seeds into thriving plants, ready to flourish when spring arrives. In this post, I’ll walk you through the basics of getting started, from choosing the right seeds to setting up the perfect indoor growing environment.
Choosing the right seeds
It is important to note that not all vegetables need to be started indoors. Tomatoes, peppers, eggplants, and some herbs such as basil, parsley, and rosemary, benefit from an early start indoors. On the other hand, root vegetables like carrots and radishes are best sown directly outdoors. When looking at seed packets, check for germination times and transplant recommendations to determine if they’re suitable for indoor starting.
Understanding seed types
When choosing seeds, you will encounter 3 main types:
- GMO seeds: genetically modified seeds that are altered in a lab for traits like pest resistance or higher yields.
- Non-GMO seeds: These have not been genetically modified in a lab and are the standard choice for home gardeners.
- Heirloom seeds: These seeds are open-pollinated varieties that have been passed down for generations, prized for their flavor and diversity. They are also the most cost-effective due to the ability to save seeds for future planting.
Soil & containers
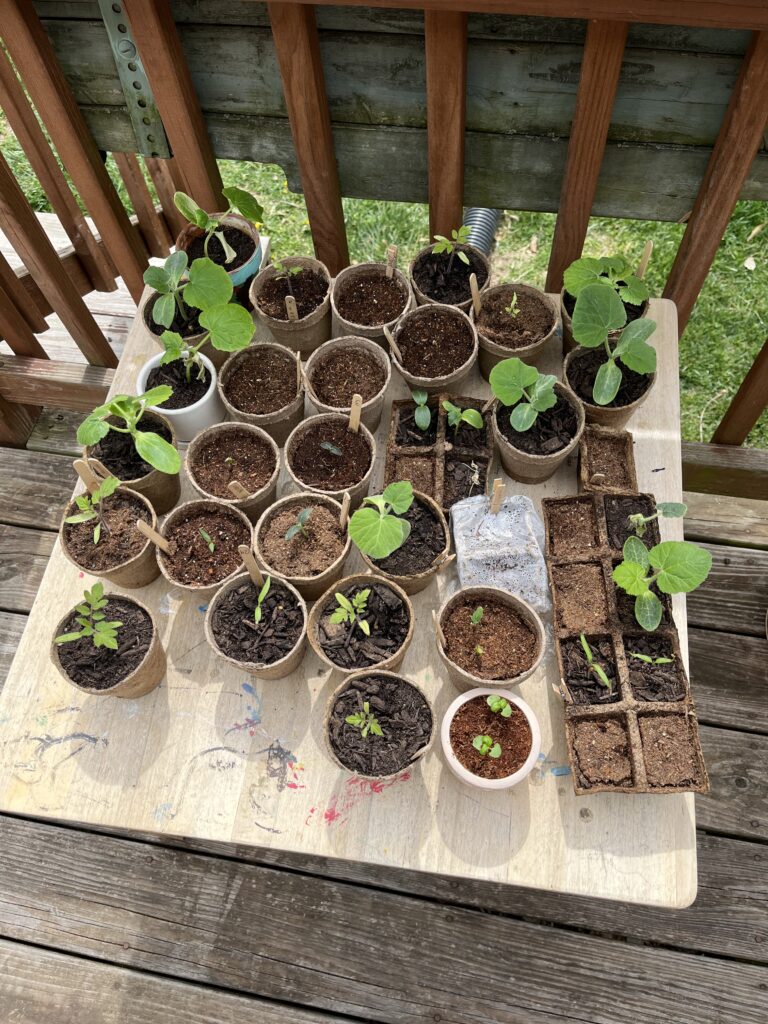
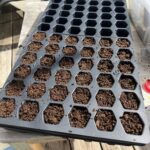
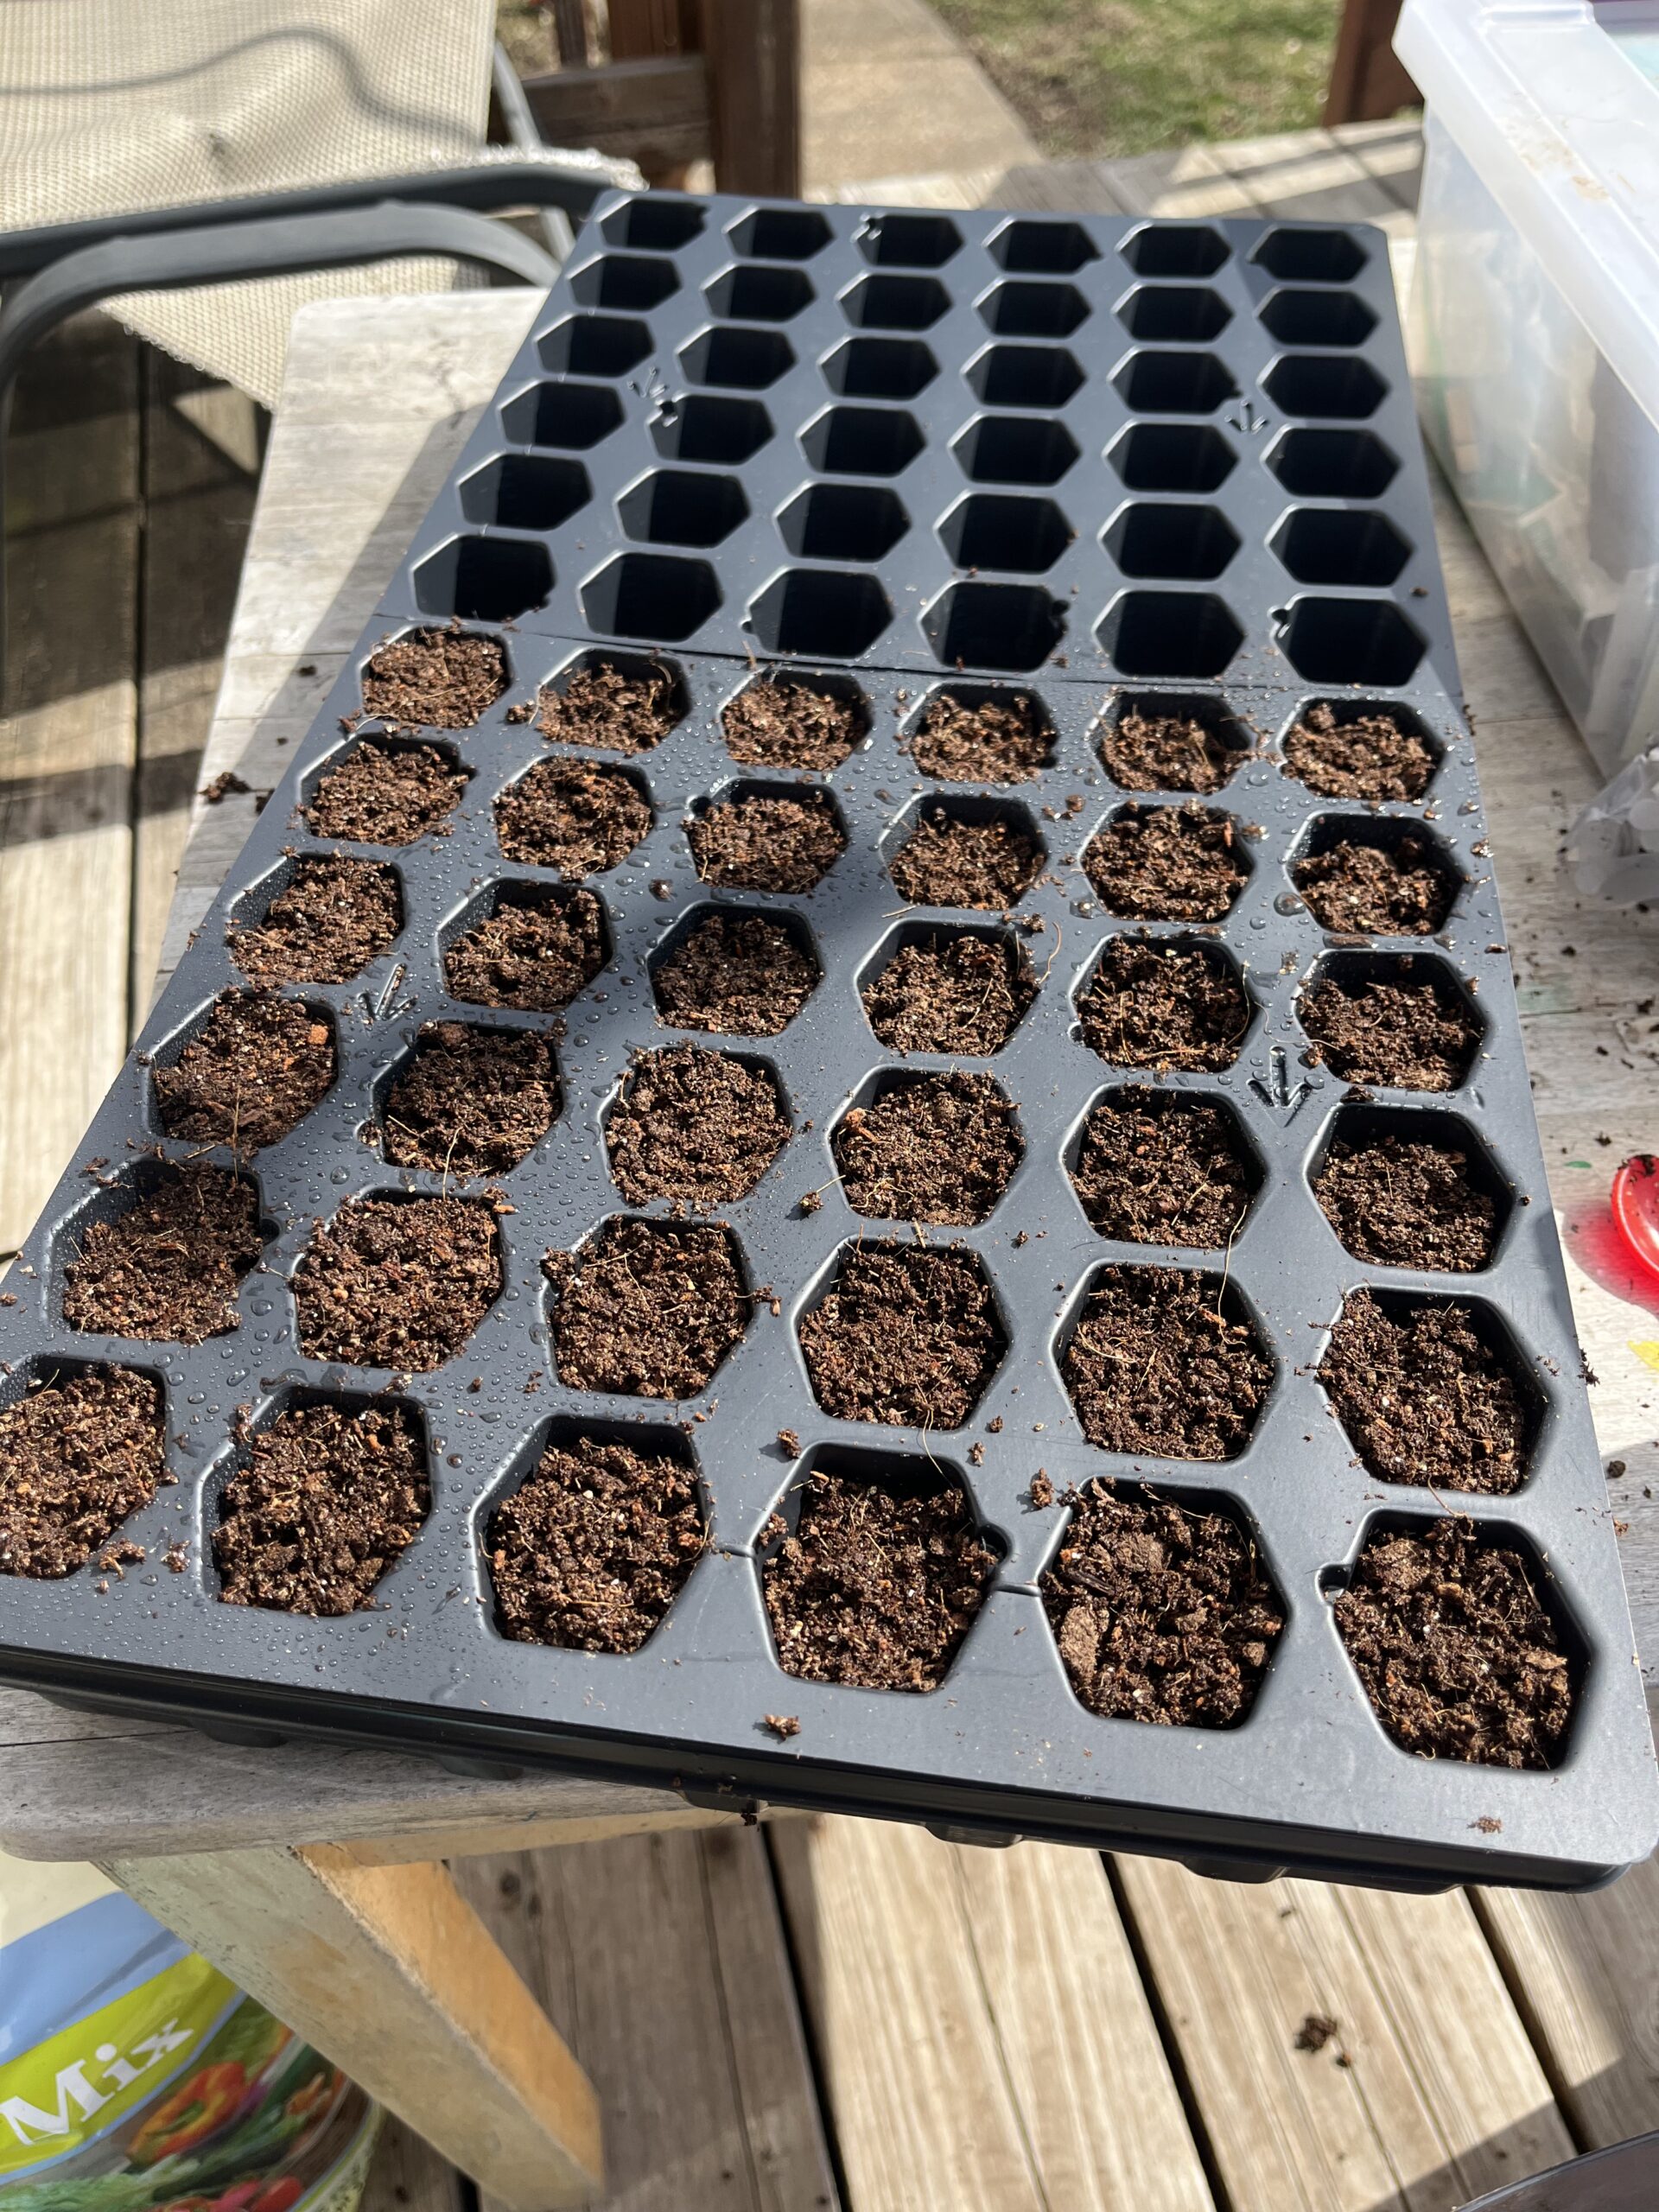
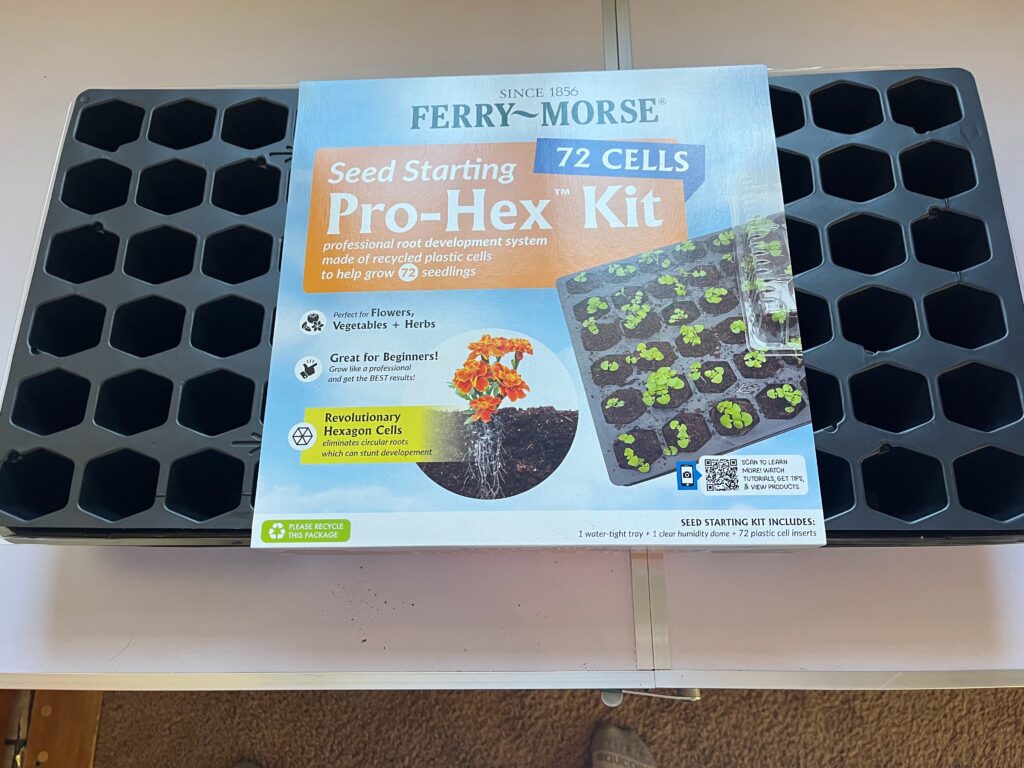
Using the right soil to start seeds indoors is crucial for their success. Regular garden soil and potting mix is too dense for seedlings to root and can harbor disease. The best type of soil to start your seeds in is a light, well-draining seed-starting mix. It is a little more expensive, but speaking from experience – you will save yourself a headache and a lot of time by starting with the right kind of soil. Look for the smaller bags of soil that are specifically labeled “seed starting mix”. They should be right next to the seeds at your local hardware store. This is what I use.

There are a few things to consider when choosing the type of container for your seedlings.
In the beginning, I tried to avoid any kind of plastic in my garden, so I started with biodegradable pots. A few things that I noticed about them:
- The pot drew water away from the soil so the plant was not able to get an adequate amount of water.
- Due to this, the pot itself became saturated and would begin to mold.
- If the plants are in these pots for too long, the pots will start to fall apart.
I finally caved and switched to plastic containers. They work so much better. This is what I found at Lowe’s. They work perfectly for starting seeds indoors, and they’re pretty inexpensive.
Ensure that your containers have holes for proper drainage. If the soil is constantly moist and does not dry out, you will likely have a mold problem.
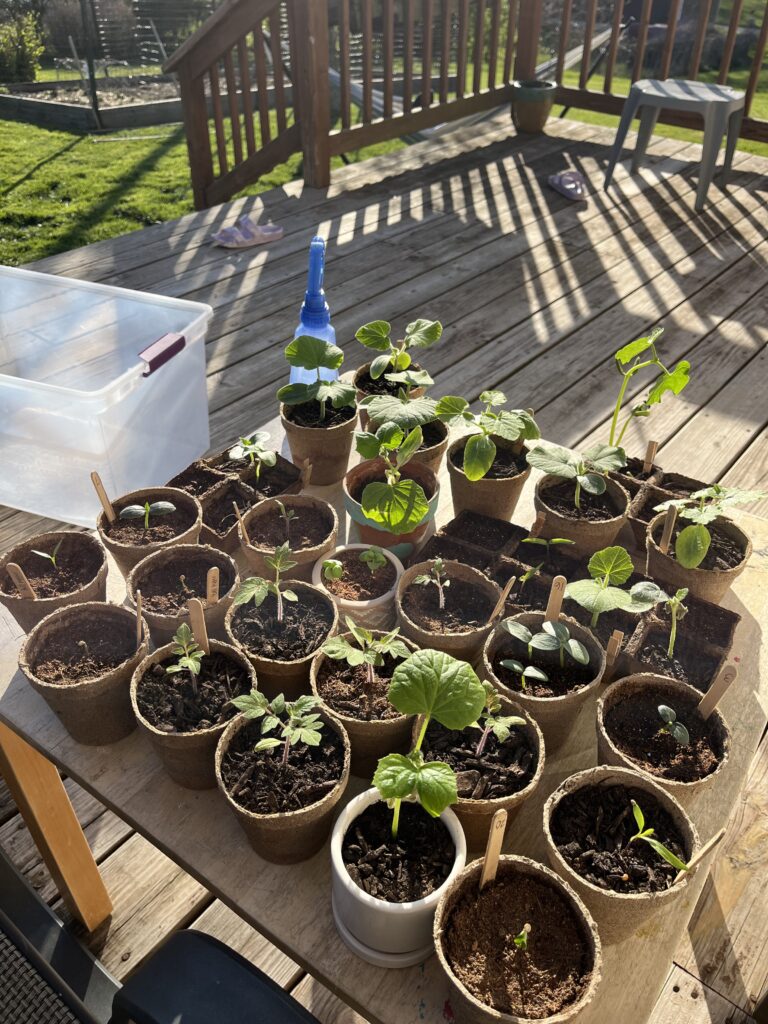
There are many container options to buy at the store and on Amazon, but there are plenty of cost-effective, DIY, container options that you can try as well. These include: solo cups, egg cartons (be careful with these as they behave similarly to the biodegradable pots), yogurt cups, recycled plant trays and containers that you bought in the past.
My best tip is to save the plant trays you buy flowers and other plants in from years prior and use those. You can also buy them on Amazon. When you are moving plants around to harden them off, it is much easier and faster to move a tray of plants over moving individual pots.
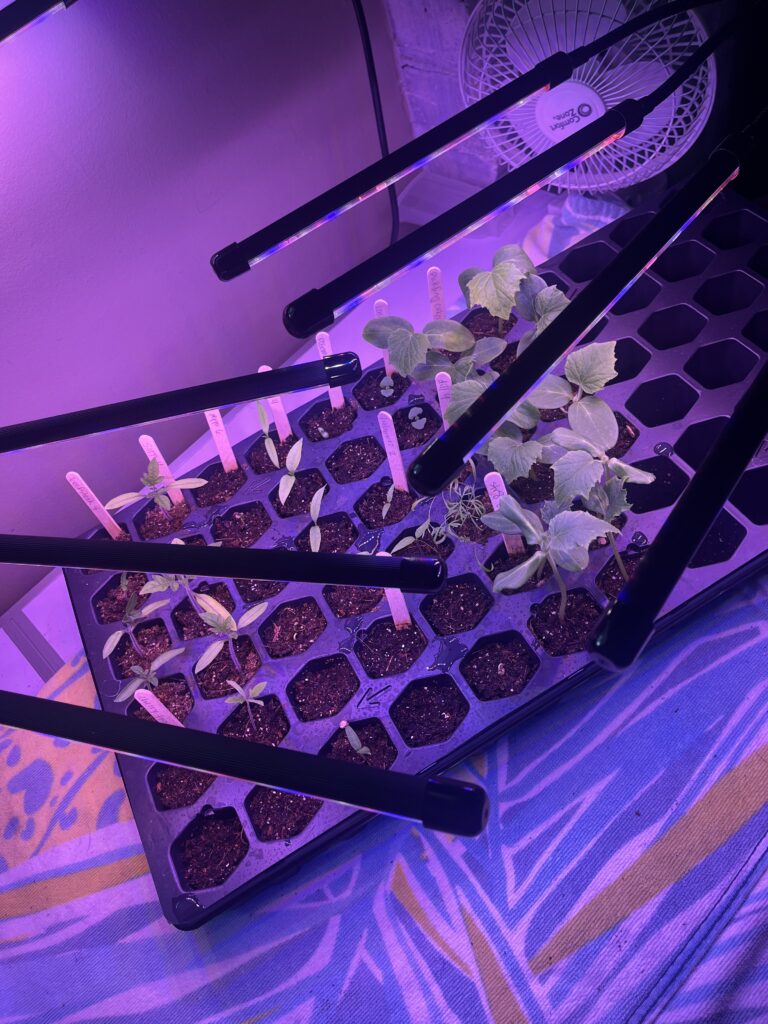
Proper lighting & temperature
A sunny windowsill may not work for seedlings, but you can definitely try it. If there is not enough light, they will “search” for a light source and grow very long stems and become “leggy” trying to reach it. This creates a new problem for your plants as they become top-heavy and the stem is not able to support the plant growth. If they become too leggy, you will need to start them over.
Grow lights are probably the best option for starting seeds indoors. They should be positioned so they are 2-3 inches from the tops of the seedlings (too close will burn the leaves). 12-16 hours per day of light is a good amount for seedlings. You can find grow lights with timers, or get a timer to plug them into. I like the clip on lights that have bendable arms so you can easily adjust the height of the light as your plants grow.
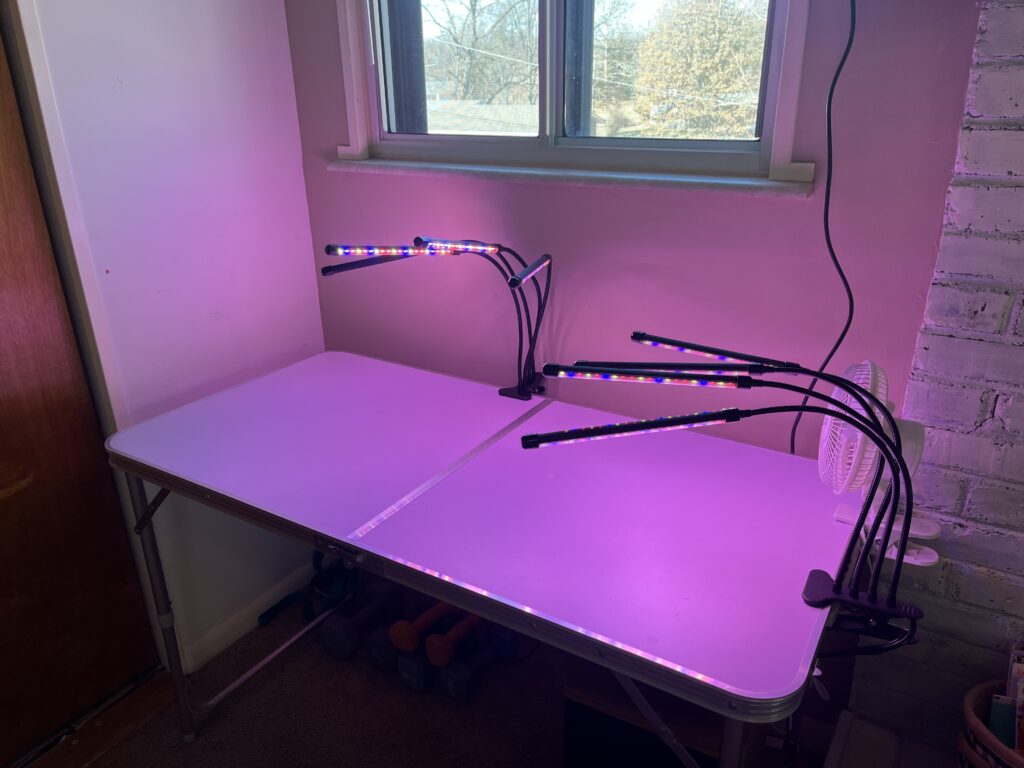
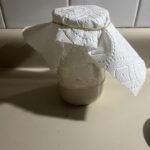
Seeds need warmth to germinate. Most seeds germinate best at temperatures between 65-75°F. Make sure you have your plants in a warm spot in your house. If you are having trouble with the temperature, you can try to use a heating mat that provides some more warmth for seedlings.
Watering & air flow
Keeping the soil consistently moist, but not soggy, is key. You want to water gently to avoid dislodging the seedlings as they begin to root themselves into the soil. A spray bottle or mister works great for this reason. You can also use a bottom-watering method which works well and helps prevent overwatering.
Good air flow is also important for a couple of reasons. For one, it mimics the wind and helps strengthen the stems. The other reason is that it helps prevent mold or disease by drying up some of the moisture that sits on top of the soil and on the actual plant. You can place a small fan close to your seedlings.
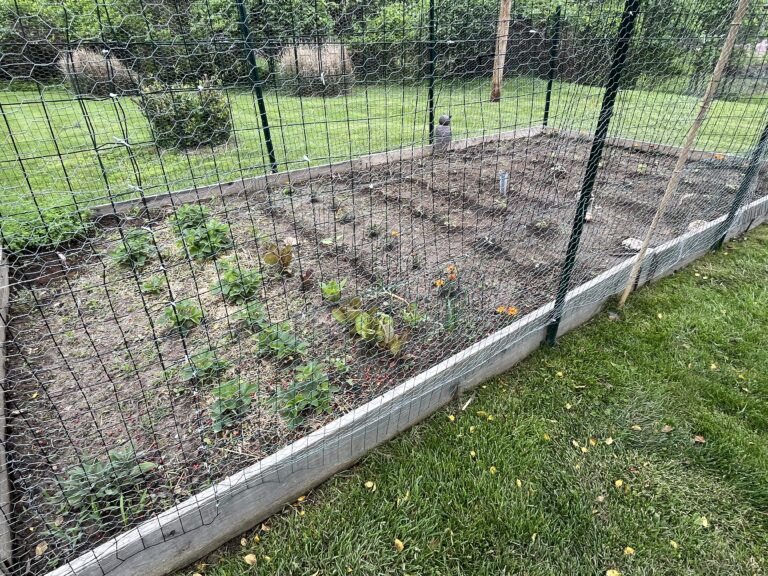
Hardening off: Preparing for the outdoors
Once you are ready to plant your seedlings you can’t just take them outside to plant them on a beautiful, sunny day. They will not survive. Your seedlings are used to indoor living conditions so they need to adjust to outdoor conditions. This process, known as “hardening off”, involves gradually exposing them to outdoor temperatures, sunlight, and wind over 7-10 days.
Common problems & troubleshooting
Even with careful planning and attention, seed-starting indoors can come with challenges. Here are a few common problems you may run into.
- Leggy seedlings
- This happens when your seedlings are not getting an adequate amount of light. The stems will stretch out looking for a light source and they fall over because the stems are not strong enough to support their weight.
- If this happens, you need to move your seedlings closer to a grow light or increase the duration of light exposure.
- Mold or damping off (a fungal disease that kills seedlings)
- This happens because of too much moisture.
- Make sure you have some kind of air movement and avoid overwatering.
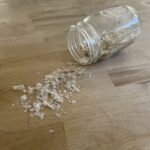
- Seeds aren’t germinating
- Check to make sure they are in a warm area and the seeds are fresh, or newer. Most seeds are viable for 1-5 years, there should be a packaging date. Older seeds have a much lower germination rate.
These problems can be prevented and fixed, and therefore, it is crucial to check your seedlings multiple times per day to look for signs of any issues.
Conclusion
Starting seeds indoors is a great way to kickstart your garden and ensure your plants are strong and healthy. By choosing the right seeds, using quality soil, providing proper light and warmth, and maintaining good watering habits, you’ll set yourself up for a successful season.