Your seedlings are just about ready for the garden, but your garden needs to be ready for them too. Prepping your garden space is key to strong and healthy plants. Here’s how to prepare your garden step-by-step.
Choosing the Right Garden Location
One of the first and most important steps before you even start planting seeds indoors, is to choose where you will plant your garden. The amount of sunlight that your garden receives is going to be one of the biggest factors in how successful your garden is.
I have started a garden in one spot where we thought would get enough sunlight, and over the years as the trees grew, it got more and more shaded and didn’t get direct sunlight until almost noon every day. I was pretty disappointed when my garden hardly produced anything that year. All that work for hardly any return. The following year, we moved the garden to a spot that received direct sunlight from first thing in the morning to late afternoon. My garden produced so much I could hardly keep up with using everything from it and I was giving away vegetables left and right.
South-facing spots receive the most consistent sun throughout the day – perfect for your sun-loving vegetables like tomatoes, peppers, and squash. These areas also warm up quickly in the spring, helping you start earlier in the season.
Other important factors to consider:
- At least 6 hours of direct sun per day, more is better
- Avoid planting near large trees or structures that create shade
- Choose an area with good drainage – avoid spots where water tends to pool
- Make sure it’s close to a water source for easy irrigation
- Be mindful of how protected they will be against strong winds, but also ensuring structures won’t impede the amount of sun they get
Last Frost Date
This is one thing I used to ignore, but I’ve finally learned to be patient. It starts getting warm outside, the sun is out and I get excited thinking it’s here to stay. So I plant everything and then it happens – over the next few weeks there is a chance of frost on multiple occasions. And of course I don’t realize this until it is 9:00 at night and have to run outside and cover everything with sheets or containers.
Don’t make that mistake – before you plant anything outside, make sure the risk of frost has passed. You can find out what the last frost date is for your area at the following website. Many state or county agricultural extension offices publish local frost date information, and often include planting calendars. Keep in mind that the dates they give are estimates. I will use my weather apps to check the forecast for the next 10 days as well.
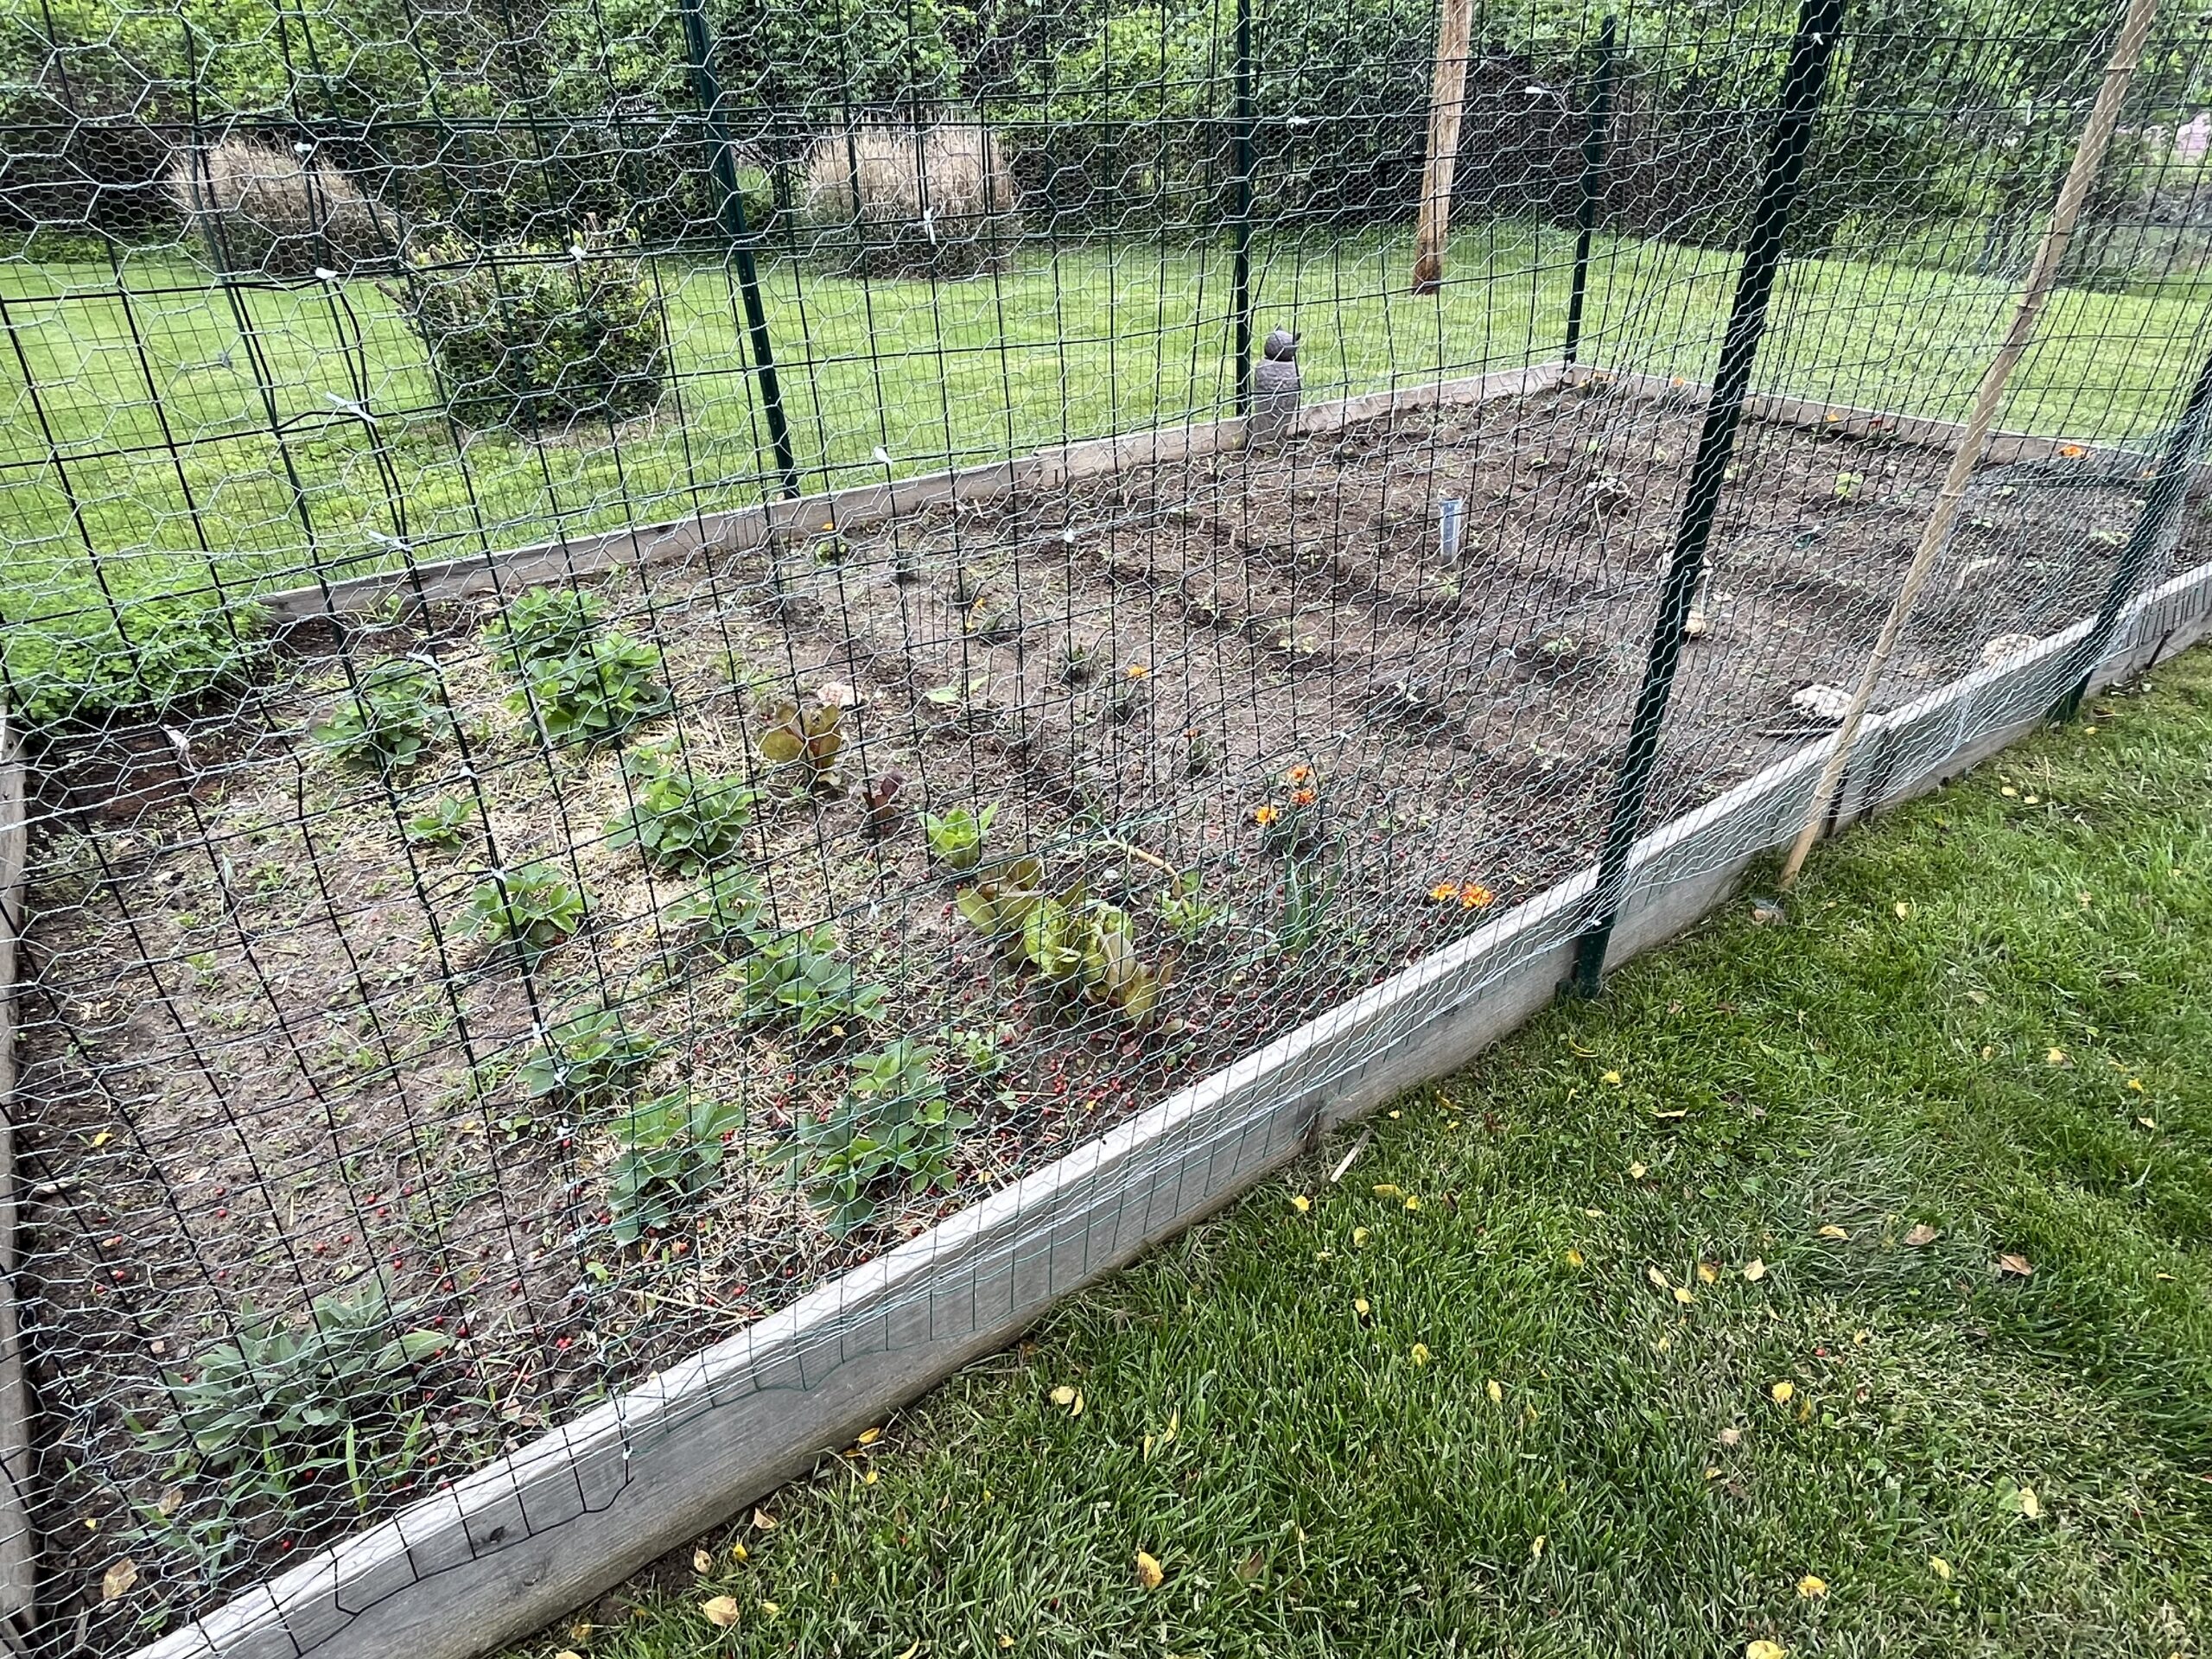
Clear and Prepare the Garden Bed
You will need to remove any existing grass or weeds first. You can do this one of a few ways:
- Smothering – Lay a tarp, black plastic, or thick cardboard over the area for 2-4 weeks prior to starting your garden to kill grass and weeds by blocking sunlight. This is an easy, chemical free option.
- Digging – you can manually dig our sod and roots with a shovel. I don’t recommend this option especially if you are making a fairly large garden, it is pretty hard work.
- Tilling – you can till the area to break up the soil, but be cautious if you have compacted soil or a lot of weeds that might get stirred up.
Once the surface is clear:
- Loosen the soil with a garden fork or shovel to help roots grow deeper.
- Remove rock, debris, and root clumps.
- If you’re reusing a garden bed, rotate crops from where they were planted last year to prevent disease buildup.
- If you have one large area like my garden, you will want to have a path or stepping stones so you are not walking all over the garden with no direction. Continuously walking around in your garden will compact the soil, and then will make it more difficult for roots to grow deep and root vegetables will not be able to expand like they should.
Enhance the soil
Healthy soil equals healthy plants. Here’s what you can add to fertilize your soil:
- Compost to add organic matter and boost microbial life
- Aged manure or an organic fertilizer based on what you’re planting
- Avoid over-fertilizing right before transplanting – especially with nitrogen, which can stress young plants
An organic/at-home option to fertilize your garden space:
Use the following 4 items that you can find at home to fertilize your garden several weeks prior to transplanting.
- Epsom salt – has magnesium and sulfur, two micronutrients that plants need to help with photosynthesis.
- Milorganite – a slow-release organic nitrogen fertilizer that is gentle on young plants and helps build healthy soil.
- Egg shells – include calcium which helps prevent blossom end rot and they slowly break down over time to enrich the soil. Dry and crush or blend them finely before adding to the soil.
- If you don’t have enough readily available, you can use powdered milk.
- Wood Ash (NOT charcoal ash!) – Adds potassium and raises soil pH. If you have a wood burning fireplace or fire pit, you can recycle clean wood ash in your garden. This is great for acidic soils. Don’t use too much and avoid using it around acid-loving plants, like blueberries.

Plan Your Garden Layout
It is a good idea to have a plan of where to place your plants according to their mature size. You can group crops by sun/water needs or plant family. If you’re tight on space, consider companion planting or vertical growing setups.
Prep for Watering
Make sure you have a watering system ready to go. The day before you transplant your seedlings, water the soil thoroughly. Pick up some mulch as well and have it ready to throw down after planting. The mulch will help with retaining moisture and suppressing weeds.
Final Thoughts
Taking the time to prep your garden space sets your seedlings up for success. These small details can make the transition much easier and less stressful on your young plants. Once your garden is prepped and ready to go, you are ready to start planting! It is so cool to watch your tiny seedlings flourish once they are planted outside, have fun watching your garden grow!