Baking your first loaf of sourdough is a timeless, rustic craft rooted in centuries of tradition. For generations, this simple process – combining flour, water, and wild yeast – was a daily ritual. As modern advances swept through civilization, much of that old-world knowledge faded into the background. In recent years, the art of sourdough has been rediscovered, offering a chance to slow down, connect with the past, and create something truly nourishing for your body. This guide will walk you through each step, helping you bake your first loaf with confidence and develop a deep appreciation for this ancient practice.
Ingredients
One good thing about sourdough is that you really only need three ingredients: flour, water and salt. The starter will take some time to establish if you make your own, but it is made with just flour and water.
There is a lot of information about the kind of water to use, what type of flour is best, the temperature of your environment, etc. I will briefly explain some options below.
Water
There is great debate among sourdough bakers about the type and quality of water to use. Some say tap water is totally fine to use, others say that the chlorine and chemicals can change the strength of the wild yeast. In my starter, I use our filtered water from the fridge, but when I bake my loaves, I use tap water. You can certainly experiment with the types of water you use however, it may be best to begin with using filtered or purified water to yield consistent results.
Flour
You will get some variations in results with different types of flour. The protein content, variety of wheat, and freshness of your flour can all play a role in the results of your sourdough.
To get started, I would recommend just using a white, unbleached flour. All-purpose or bread flour is fine to begin with. Once you get a little more experienced, go ahead and experiment with different types of flour. What you use will depend on the results you are looking for in your loaf of bread.
I have never used bleached flour for my starter, but I have read that the starter will not rise if you use one.
Whole grain flours contain more minerals than white flour and can speed up the fermentation process of your sourdough starter and in the rise of your bread.
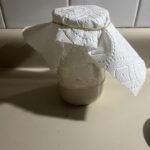
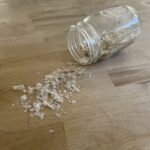
Sourdough Starter
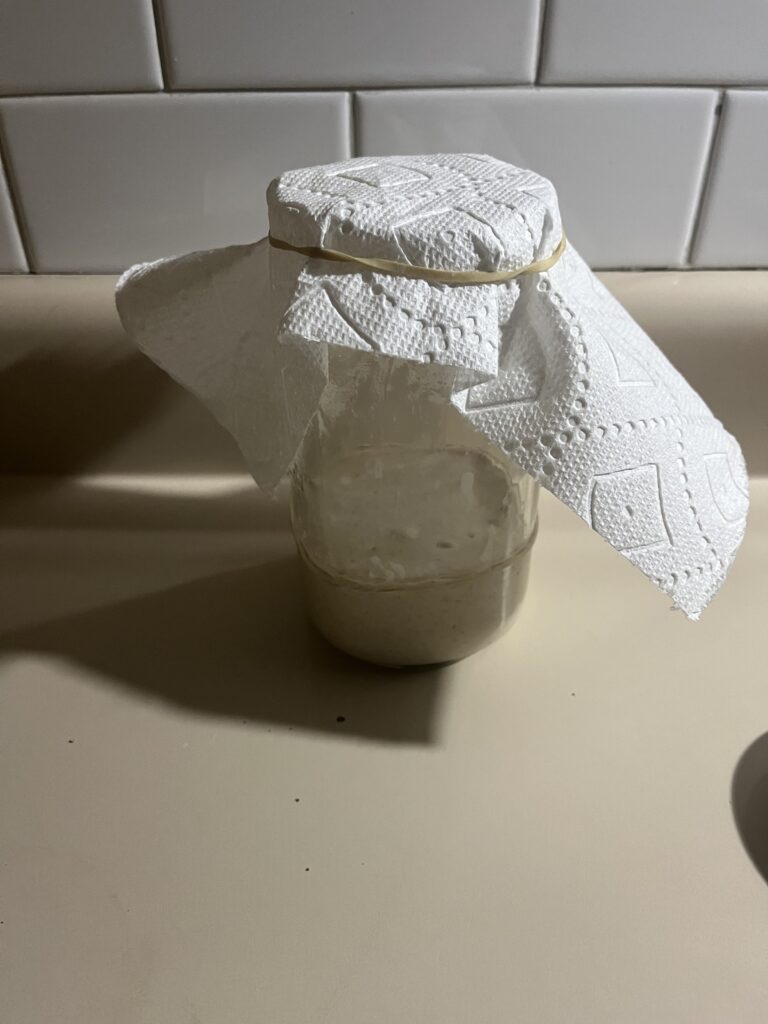
The sourdough starter is a mixture of flour and water that captures wild yeast and friendly bacteria from the environment. It is the natural leavening agent used in place of commercial yeast to make your bread rise. The starter is essentially a living ingredient that needs to be cared for and maintained properly by “feeding” it to keep it thriving. Once your starter is established, it can be used indefinitely with proper care.
There are a few options you have to obtain a sourdough starter.
- Probably the fastest and easiest way – borrow some active starter from a friend or buy one from someone local.
- You can buy dehydrated sourdough starters from Etsy and other online shops. You will need instructions on how to reactivate the sourdough starter.
- Start your own starter. This is definitely the most time consuming and hardest way to begin sourdough baking. This is what I did because I figured if I was going to go through the trouble, I may as well start my own starter so I can learn more about the process. Read this post on starting your own starter!
Salt
Salt is important when baking sourdough bread to give it some flavor. Right now, I use coarse Kosher salt because it is what I have on hand. However, the coarse granules take a little more time to dissolve. It still works great for me, but fine ground sea salt is often recommended because the granules dissolve quickly.
Some bakers stay away from iodized salt because they believe it gives off a metallic taste and can inhibit fermentation.
Helpful Materials and Tools
It’s okay if you don’t have all the fancy sourdough gadgets when you begin baking. Will they make your life easier? Possibly. I did not buy all of the tools people say you need in the beginning, but I did buy a few over time.
Dutch Oven
You do not need a dutch oven to bake a sourdough loaf, but you do need steam and a dutch oven is the perfect little sauna for sourdough. I did not own a dutch oven until I started baking sourdough, but I LOVE mine. If you love antiques like me, you can find a pretty cool cast iron dutch oven at an antique store. I use mine for so many things other than just sourdough.
If that’s not what you’re looking for, many people in the sourdough community rave about the Le Creuset dutch oven. It is pricey, but I have realized over time that it is worth it to spend a little more money on high quality products that last.
You CAN successfully bake sourdough without a dutch oven. I have not tried it, but I do know you need to have a pan of water in the oven to create steam. One day I will experiment and share my experience here!
Banneton
A banneton is like a basket or bowl that is used to help shape your loaf and it is where the loaf sits until it is ready to bake. I do not own a banneton and have made beautiful loaves without one. I started out just using a stainless steel bowl which was ok, but it was difficult to tell how much my loaf was rising and my loaves did not hold their shape well.
I decided to buy a large 2 quart glass measure bowl, which serves multiple purposes. First, I use it as a mixing bowl to combine the ingredients when making a loaf. Second, it is the bowl that I use to watch it rise. Since it is a glass measuring bowl, it is easy to see exactly how much it is rising due to the measure lines on the side. Finally, after I shape the loaf, I place it in the measure bowl for the cold proofing stage.
Bread Lame
A bread lame is helpful to score your loaf. When you score your loaf, you make cuts in the loaf before baking to help control the rise. You can just use a sharp kitchen knife to do the job if you don’t want to buy one. If you want to make beautiful designs on your loaf, I would recommend buying a bread lame. That’s hard to do with a knife.
Scale
A scale is very helpful in baking to yield consistent results. I didn’t want to buy one when I started making sourdough, but I don’t know if I would have been successful if I didn’t end up buying one. Your results will vary when measuring by volume, but when you measure by weight you will have very consistent results.
Other helpful tools
- Bench scraper
- Tea towels/flour sack towels
- Parchment paper
- Semolina Flour
Recipe
I have added a timeline of when to do each step, but it doesn’t have to be followed to a T. This is the timing that works for my schedule.
Ingredients:
- 100g active and hungry starter (at its peak, or just after it has peaked).
- 325g water
- 475g unbleached all-purpose flour
- 10g salt (adjust to your liking)
Step 1: 8:00 AM – Mix ingredients

- Add 100g starter to a non-reactive bowl (glass, stainless steel, ceramic).
- Add 325g water to the bowl and mix until milky/bubbly.
- Mix in 475g flour and 10g salt with a wooden spoon, or you can use your hands if it gets tough to mix. Your dough will be “shaggy”.
- Cover the bowl with a towel, or plastic wrap and let sit for an hour.
Step 2: 9:00 AM – Shape
After an hour, you will shape the dough into a ball.
Pull the dough up from the bottom to shape it into a ball, you can keep the dough in the bowl while you do this. Go all the way around the loaf. This will help give your loaf a little more shape. Cover and let rest for another 30 minutes.
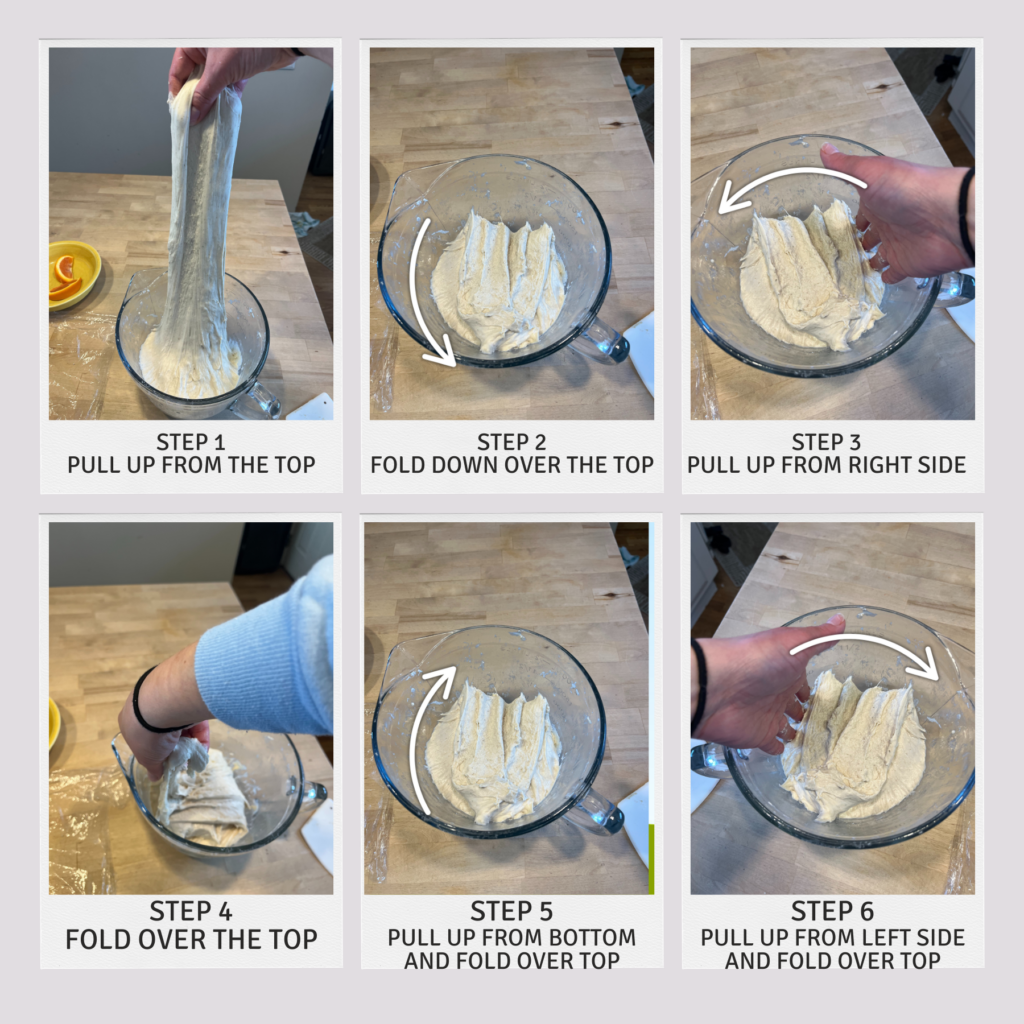
Step 3: 9:30 – 11:00 AM – Stretch and Fold
You need to do at least 3 sets of stretch and folds over the next 2 hours, I usually do 4. Wait at least 15-30 minutes between each set. This step helps develop gluten, strengthens your dough, and gives it structure so you don’t have to do the traditional kneading. You will pull from one end of the loaf and stretch it up far and then fold over the top. Do this around all 4 sides.
Note: It is not imperative that you wait exactly 15-30 minutes. I typically start a loaf on a Saturday morning, which is also when I run my errands. If I have to run an errand, I do. I don’t sit and wait with my timer until it’s time for another stretch and fold. It’s okay if you go over the time.
9:30AM Stretch and fold #1
10:00AM Stretch and fold #2
10:30AM Stretch and fold #3
11:00AM Stretch and fold #4
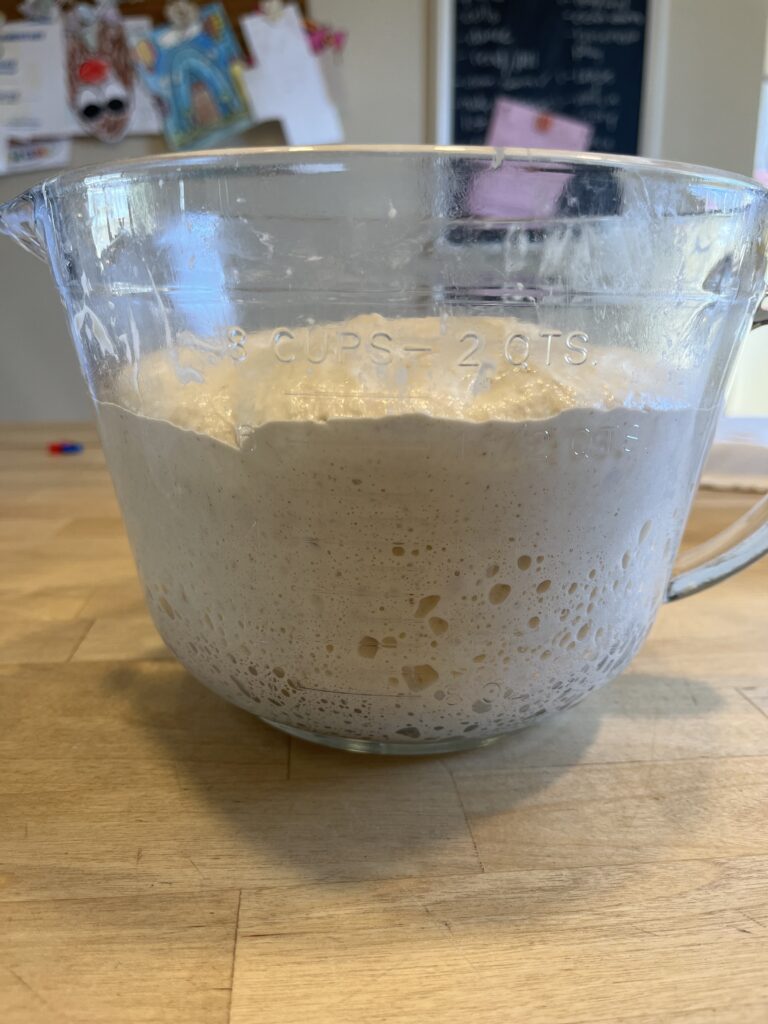
Step 4: 11:00 AM – Bulk Fermentation
Now you will cover your dough and let it rise until it has doubled in size. This is called bulk fermentation. This may take anywhere from 2-8+ hours. The temperature of your house and the activity level of your starter will definitely affect how quickly your dough rises.
You want to watch for a domed top, pillowy-looking, and jiggly when you shake it. You will also notice lots of bubbles underneath and on the sides (this is why I use a glass bowl). There may also be bubbles popping up on top.
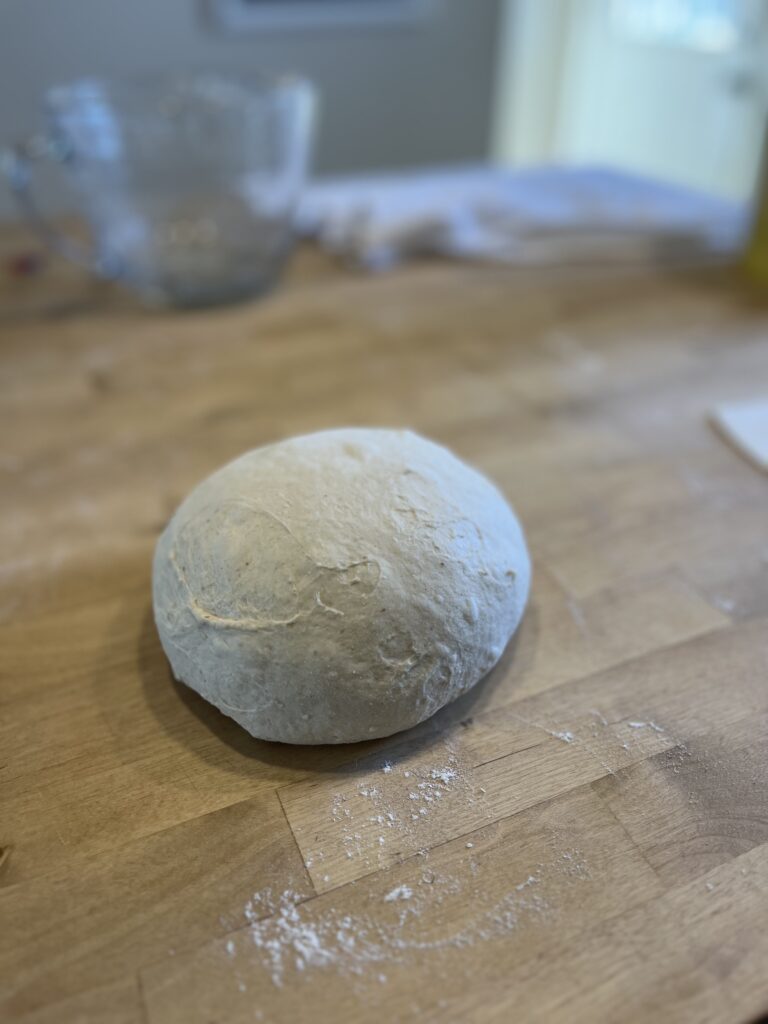
Step 5: 4:00PM (or when your loaf has doubled in size) – Shaping
When your loaf has doubled in size, you need to shape it.
- Turn the loaf out onto a well floured surface.
- Stretch it into a rectangle, maybe about the size of a piece of printer paper.
- Fold in thirds, fold the bottom third up, then the top third down on top of the first fold.
- Turn it so you are working from the short end and roll it up.
- Now you have a big roll. You can move the loaf in a circular motion, pushing away from you and pulling towards you – try to tuck the ends under as you do so. The top will be smooth.
- If you have a banneton, flour the cover. If not, lay out a tea towel and flour it generously where you will be placing the loaf.
- Turn the loaf upside down to place on the tea towel or into the banneton.
- Grab the ends of the tea towel and lower the loaf down into a bowl, something that will help keep its shape. Use the extra towel to cover up the loaf so it doesn’t dry out.
Step 6: Cold Fermentation
There are several reasons why you would want to do a cold fermentation. The first is for flavor development. The cold temperature slows down the activity of the wild yeast and lactic acid bacteria, which encourages a more complex flavor development. It also helps improve the texture of your sourdough bread.
A chilled sourdough loaf is also a lot easier to handle and score. Finally, it is convenient because you can bake it whenever it fits your schedule.
Place the shaped loaf into the fridge and let ferment. I’ve done as little as overnight (about 10-12 hours), to as long as almost a 3 day fermentation. The longer you let it ferment, the more sourness you will have in your loaf. I like to let it ferment for at least 24 hours.
Step 7, Bake!
When it’s done fermenting in the fridge, it’s time to bake!
- Preheat a dutch oven in your oven for about 30 minutes or so at 450℉. You want the Dutch oven to be nice and hot, and heated all the way through.
- When your dutch oven is almost ready, prepare a 12” x 12” square of parchment paper and sprinkle it with a little bit of semolina; flour would probably be fine for this too. If you do not have parchment paper, just sprinkle some semolina flour into the bottom of the Dutch oven.
- Get your loaf out of the fridge and dump it upside down (smooth side up) onto the parchment paper or a floured surface.
- Dust the loaf with flour (optional). This just helps your design stand out visually after baking.
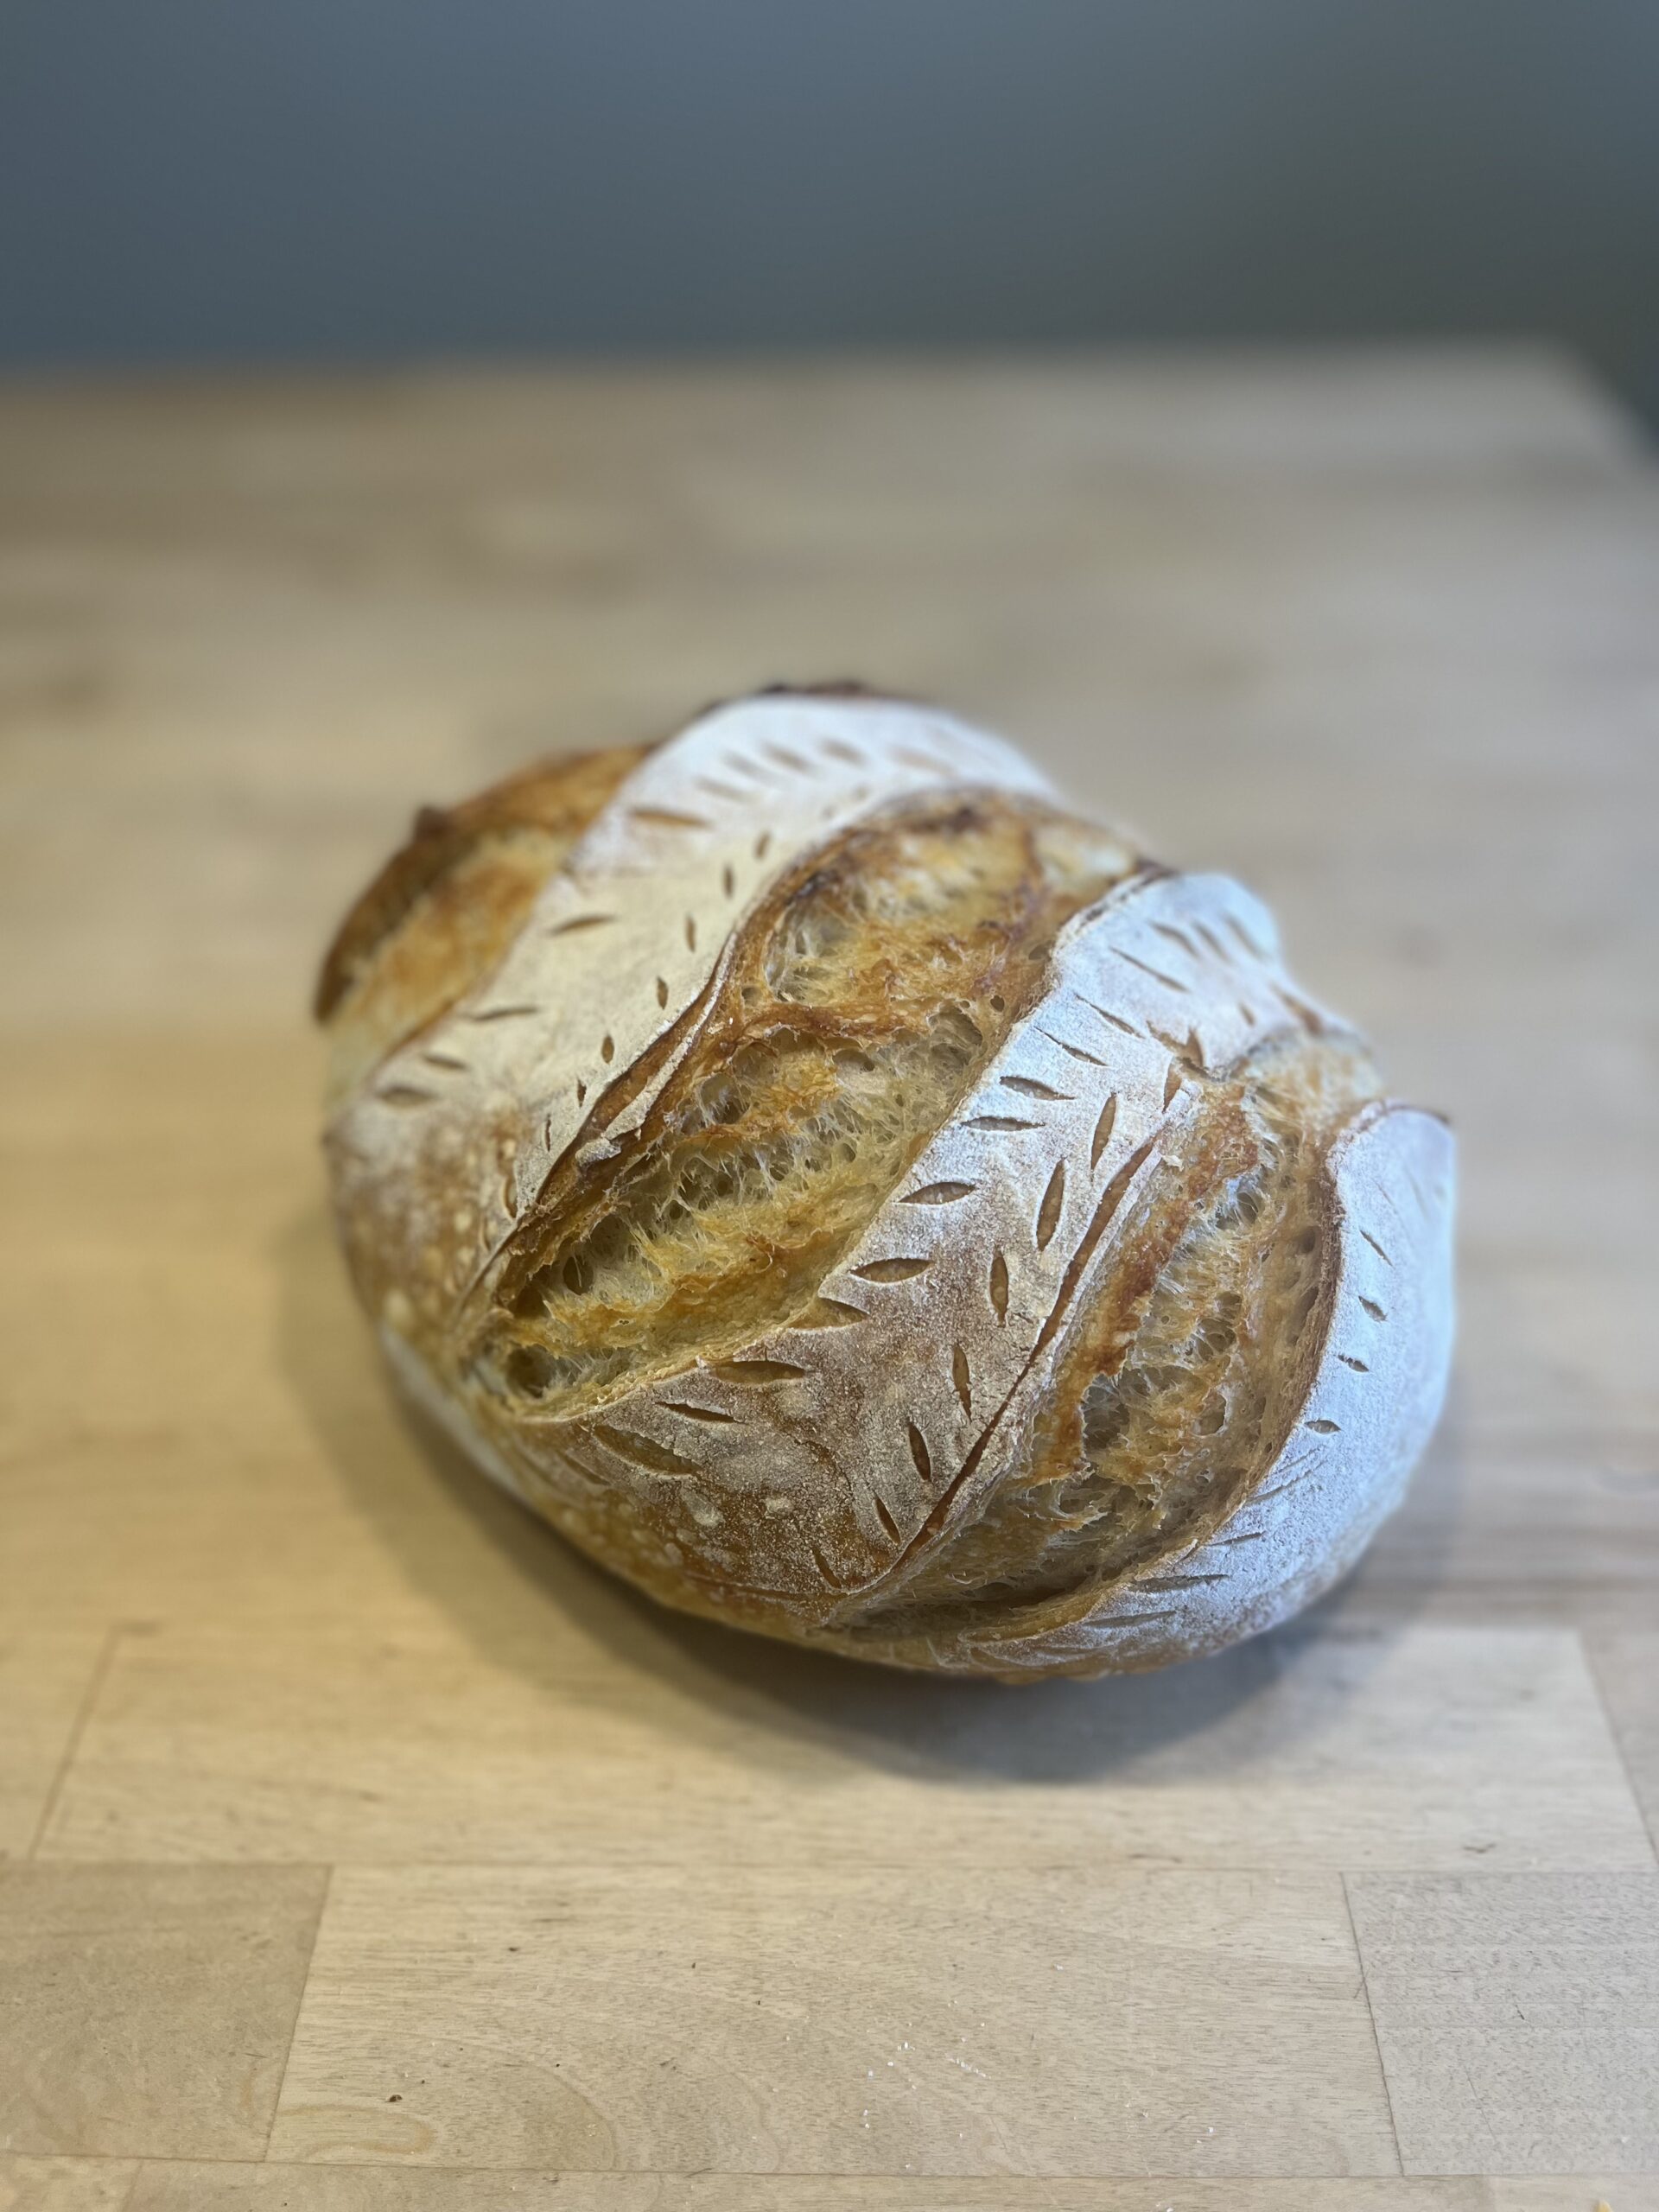
- Use a sharp knife or bread lame to score your loaf. Cut a straight line at least 1/4″-1/2″ deep across the top or in a cross shape.
- Lower the loaf on the parchment paper into your dutch oven and place the lid on.
- Bake at 450℉ for 30 minutes with the lid on, then lower the temp to about 410℉ and bake for an additional 10 minutes with the lid off.
- Immediately place on a cooling rack when it is done baking.
- Let cool completely, at least an hour and half or so, before cutting into, otherwise it could be gummy.
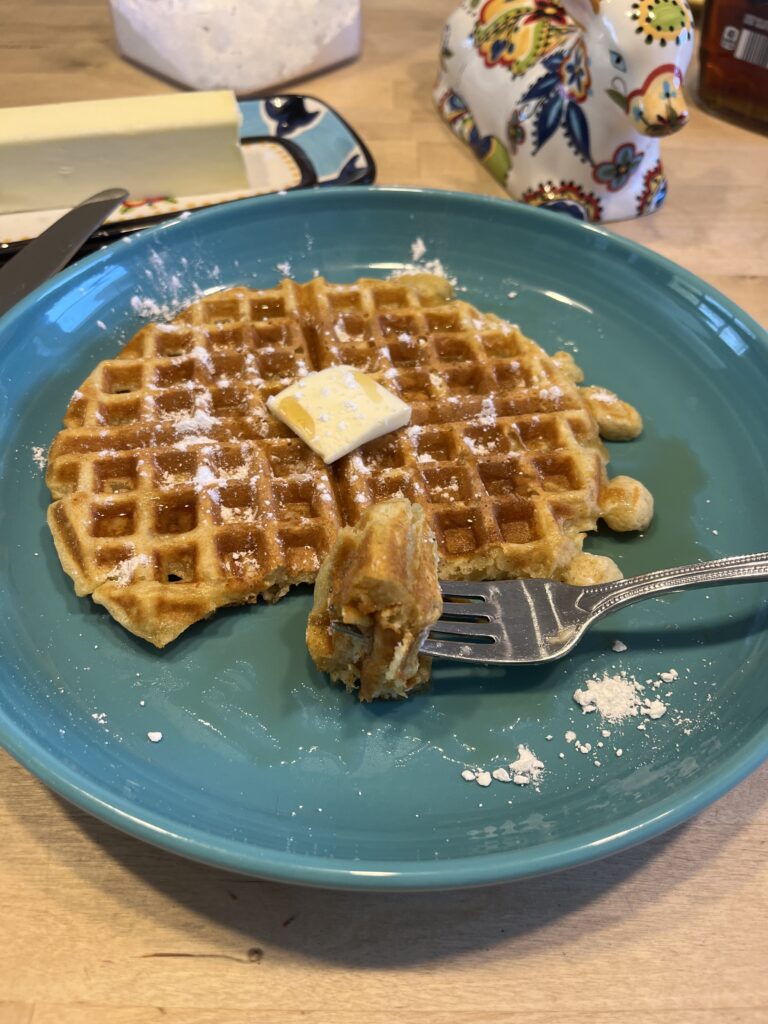
Enjoy slathered in butter or with your favorite spread! Or if you’re into salty/sweet combos, slather with butter, drizzle some honey on the top, and sprinkle just a dash of salt over the top!
From My Kitchen to Yours
You did it! You baked your first loaf of sourdough! Baking your first loaf is all about slowing down, learning to trust the process, and finding joy in simple, homemade food. It may not be perfect the first time (or even the second), but each loaf will teach you something new. This is just the beginning of your sourdough journey, I’m proud of you for tackling it like a boss! Happy baking!